
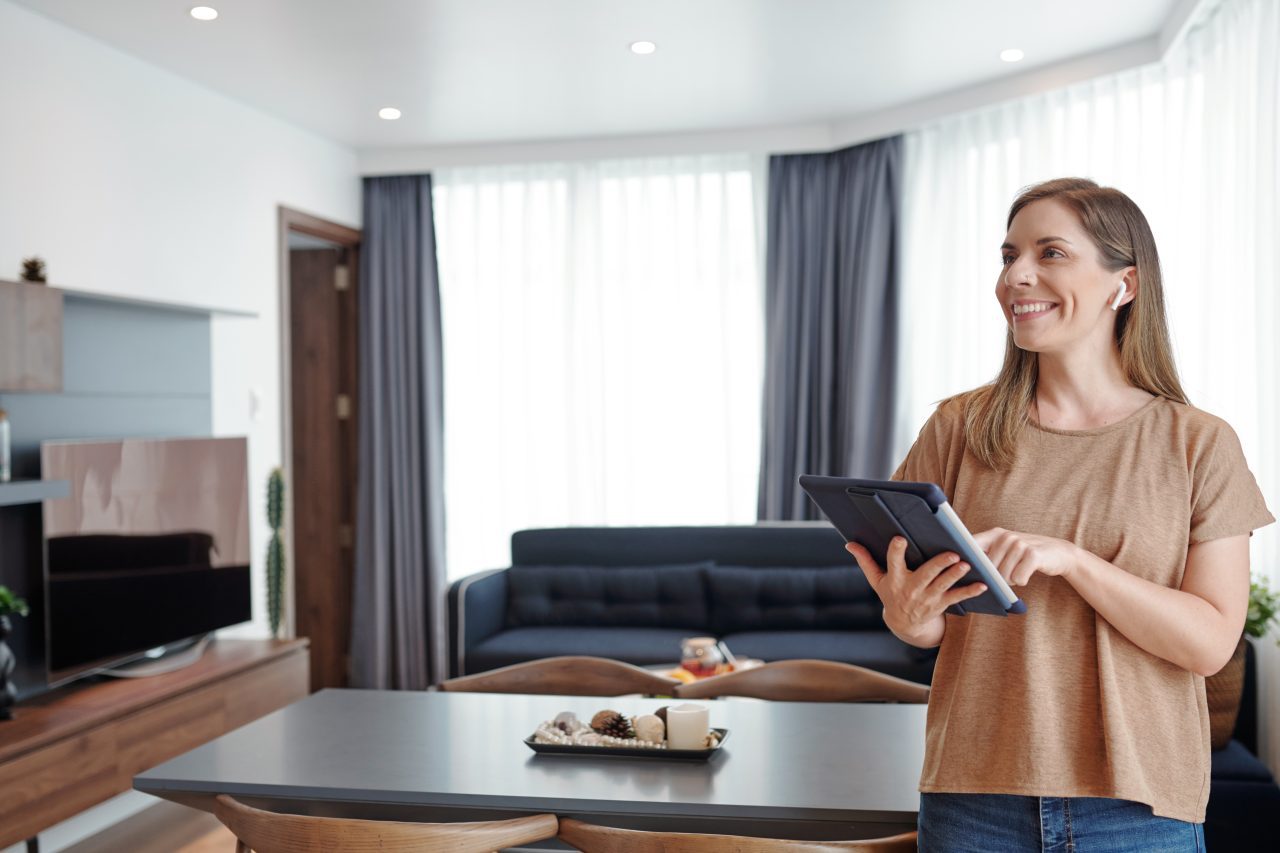
A reliable smart home starts with one useful outcome—not a cart full of devices. Choose a room and a problem, decide which platform will control it, confirm that every product is compatible, and add devices in small stages. That approach costs less, is easier to troubleshoot, and gives you a system that still works when an app or internet connection is unavailable.
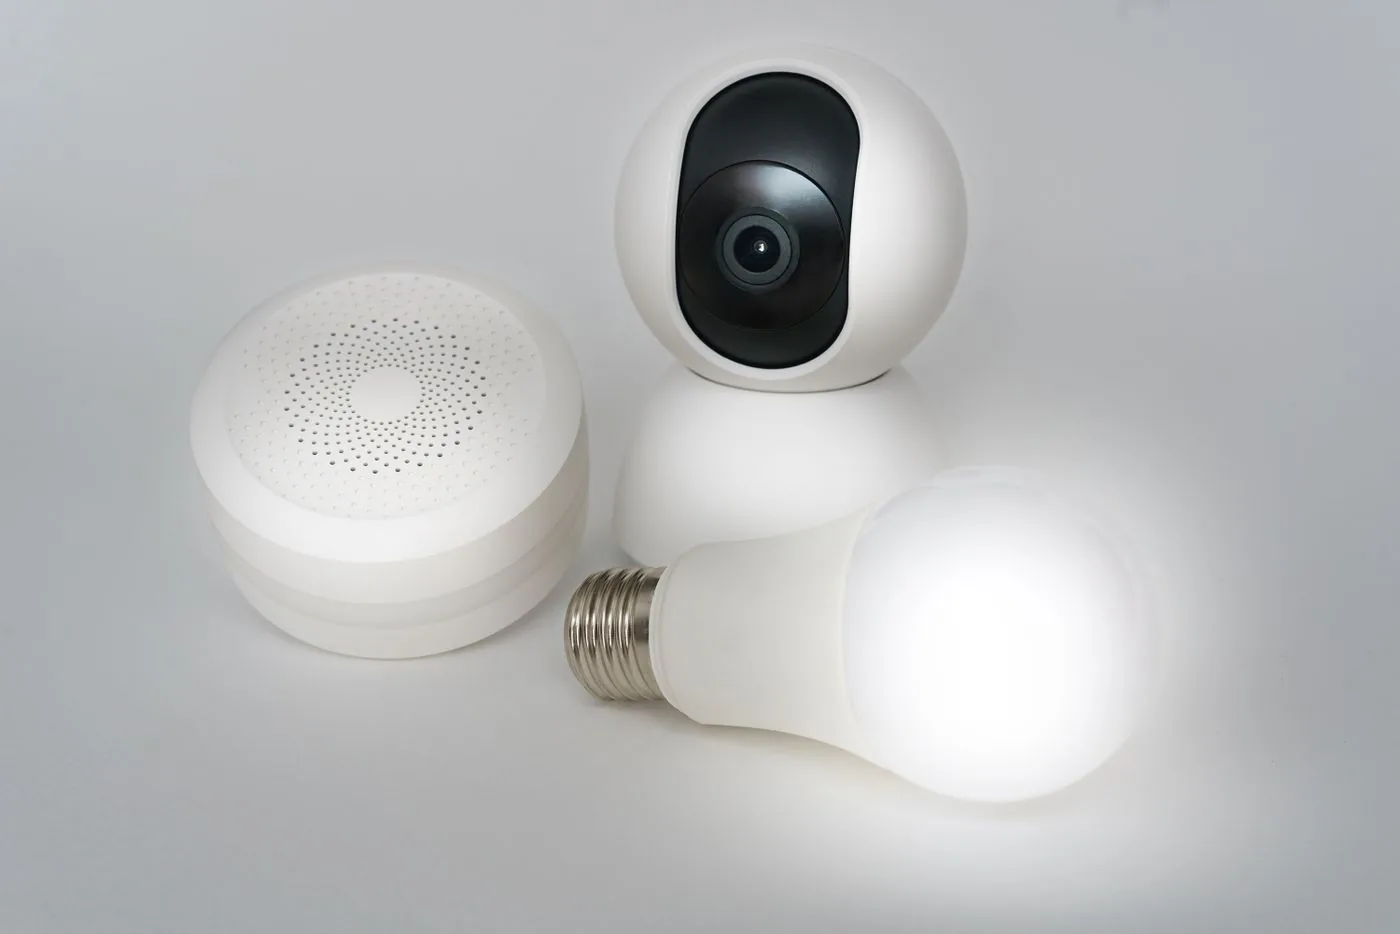
This guide gives you a practical setup order for a first smart home, including network preparation, protocol choices, safety, privacy, automation, and what to buy first. It is written for homeowners and renters; no rewiring is required for the starter plan.
Smart-home setup in seven steps
- Write down one problem you want to solve.
- Choose the main control platform your household will actually use.
- Check Wi-Fi coverage where devices will be installed.
- Choose compatible products and favor local control or manual fallback.
- Install one device category at a time.
- Create simple automations with clear conditions and an easy override.
- Document the setup, update devices, and review access twice a year.
1. Start with the problem, room, and people
Before choosing a hub or protocol, define a small outcome. “Turn on the hallway light after sunset when motion is detected” is a useful first project. “Make the whole house smart” is not specific enough to design or test.
For each idea, answer four questions:
- Who uses it? Include children, guests, older adults, caregivers, and anyone who does not want to use an app.
- What should happen? Describe the result in one sentence.
- What happens if the internet or automation fails? Keep a physical switch, keypad, key, or other manual control.
- Is the convenience worth the data and maintenance? A connected camera has different privacy consequences than a connected lamp.
Good first projects are lighting schedules, a lamp controlled by a smart plug, leak alerts, and motion-activated lights. Avoid making a lock, alarm, heater, cooking appliance, or medical need your first automation.
2. Choose your main platform before individual devices
Your platform is the app or controller that household members will use most often. Common choices include Amazon Alexa, Apple Home, Google Home, Samsung SmartThings, and Home Assistant. There is no universally best option. Choose based on the phones and speakers already in the home, the people who need access, the devices you expect to add, and how much local control or technical maintenance you want.
Before buying a product, check its current compatibility page—not just a marketplace title. Confirm:
- the exact model works with your chosen platform;
- the important functions are supported, not only basic on/off control;
- whether a separate bridge, hub, or Thread border router is required;
- whether remote access or automation depends on a paid subscription;
- whether the device still has a physical or local fallback.
Matter helps, but it does not erase every difference. The Connectivity Standards Alliance describes Matter as an IP-based compatibility standard for certified devices. A Matter logo can simplify setup across supported ecosystems, but the functions available still depend on the device type, platform, software version, and implementation. Check the exact feature you need before purchasing.
3. Prepare the network without overcomplicating it
Smart-home reliability often begins with ordinary network basics. Walk to each planned installation point and check that your phone has stable Wi-Fi there. Cameras, doorbells, detached garages, and outdoor devices are common weak spots. If coverage is inconsistent, fix that before adding more devices.
- Place the router or mesh nodes in open, central locations rather than inside cabinets.
- Update router firmware and use WPA2 or WPA3 security when supported.
- Give the Wi-Fi network a stable name and password; changing either later can require reconnecting many devices.
- Keep an inventory of device names, rooms, models, and reset instructions.
- Reserve advanced settings—such as separate 2.4 GHz and 5 GHz network names—for troubleshooting when a manufacturer specifically requires it. Many modern routers steer devices automatically.
Most low-cost Wi-Fi smart devices use 2.4 GHz because it generally reaches farther than 5 GHz. That does not mean your phone must remain on 2.4 GHz after setup, nor that every dual-band network needs to be split.
4. Understand protocols before buying a hub
| Technology | What it does | Best fit | What to check |
|---|---|---|---|
| Wi-Fi | Connects devices directly to the home IP network | Cameras, speakers, plugs, and a small number of devices | Coverage, router capacity, cloud dependence, and update policy |
| Bluetooth | Short-range connection often used during setup or for nearby control | Commissioning and a few close-range devices | Remote control may require another hub or platform device |
| Zigbee | Low-power mesh network that normally uses a compatible coordinator or bridge | Sensors, bulbs, buttons, and larger low-power networks | Hub compatibility and which powered devices repeat the signal |
| Z-Wave | Sub-GHz mesh protocol with a compatible hub | Locks, switches, sensors, and whole-home networks | Regional frequency, hub support, and security inclusion |
| Thread | Low-power IPv6 mesh networking for IoT devices | Battery devices and Matter-over-Thread products | A compatible Thread border router and ecosystem support |
| Matter | An application-layer interoperability standard that runs over IP networks such as Wi-Fi, Ethernet, and Thread | Cross-platform control of supported device types | Matter certification, supported features, and required controller or border router |
Thread and Matter are related but not interchangeable. Thread Group defines Thread as a low-power, IPv6-based mesh networking protocol. Matter can use Thread as a network transport, but Matter can also run over Wi-Fi or Ethernet. A product labeled “Matter over Thread” therefore needs both a Matter controller and access to a compatible Thread border router; one device in your home may perform both roles.
Do not buy a hub only because it supports the largest protocol list. Buy one when the devices and automations you have planned actually require it. If Z-Wave is part of the plan, see our Z-Wave hub installation guide.
5. Build in three phases
Phase 1: one room, one control method
Start with two or three devices that solve one problem. For example: two smart bulbs and a wireless button in a living room, or one smart plug controlling a lamp. Set up household sharing and make sure everyone can use the physical control before adding automation.
If lighting is your first project, use the budget smart-lighting setup guide. If you are starting with an outlet, compare the safety and ecosystem tradeoffs in our smart-plug buying guide.
Phase 2: add sensing and a dependable routine
Add one trigger—such as motion, contact, time, or presence—and create a routine that is easy to observe. A strong automation includes a trigger, conditions, an action, and a way to stop or override it.
Example: when hallway motion is detected after sunset, turn on the hallway light at 40 percent; turn it off after five minutes with no motion. This is clearer and safer than “turn on lights when needed.” For ideas, see our motion-sensor automation guide and smart-plug routines guide.
Phase 3: expand only after a week of reliable use
Run the first setup for at least several days. Note false triggers, delays, confusing names, and times when someone used the manual control. Fix those before copying the design to more rooms.
Add security-sensitive devices last. Locks, cameras, doorbells, garage access, and alarms deserve separate decisions about accounts, recovery, subscriptions, retention, and who can view recordings. Use our security-camera buying guide before choosing a camera system.
6. Use a pre-purchase checklist
- Compatibility: exact model, platform, protocol, country or region, and required hub.
- Control: physical control, local operation, voice control, app access, and guest access.
- Power: battery type, expected replacement routine, neutral-wire requirement, or outlet load limit.
- Privacy: microphones, cameras, cloud storage, account sharing, and data-retention settings.
- Support: firmware-update method, published support policy when available, warranty, and reset process.
- Total cost: device, hub, subscription, installation, batteries, and likely replacements.
For devices that control mains power, locks, HVAC equipment, water valves, or safety systems, read the manufacturer’s installation instructions before purchase. If the device requires electrical, plumbing, gas, or structural work beyond your competence or local rules, use a qualified professional.
7. Install and name devices in a repeatable order
- Update the platform app, phone, router, and hub.
- Create a unique account password and enable multifactor authentication when offered.
- Install the device close enough to the router or hub for dependable commissioning.
- Add it to the manufacturer’s app if required, then update its firmware.
- Connect it to the main platform and test every important function.
- Move or mount it in the final location and test again.
- Give it a plain, unique name such as “Hall ceiling” rather than “Light 2.”
- Add it to the correct room and share access with household members through their own accounts.
- Record the model, purchase date, battery type, reset method, and location.
Do not reuse one account password across device brands, and do not share your primary password with every household member. CISA’s consumer guidance emphasizes strong passwords, software updates, and multifactor authentication as basic protections. Where a platform offers household or guest invitations, use them so access can be removed without changing the owner’s credentials.
8. Design automations that fail gracefully
A reliable automation should be understandable from its name. “Weekday entry lights after dark” is better than “Automation 7.” Keep the first version simple, then add conditions only when a real problem appears.
- Keep wall switches and manual controls usable.
- Avoid automations that can repeatedly trigger each other.
- Use delay and cooldown periods for motion and contact sensors.
- Send alerts only when someone can act on them.
- Test the result with the internet disconnected when local operation matters.
- Review time-based automations after daylight-saving and schedule changes.
- Remove old devices, users, routines, and integrations promptly.
For voice control, create short names that sound different from one another and avoid room/device combinations that assistants may confuse. If Alexa is your platform, our Echo home-automation guide covers the platform-specific setup; that guide should be used alongside the manufacturer’s current instructions.
9. Treat safety and privacy as setup requirements
Electrical and appliance safety
A smart plug’s printed amperage is not blanket permission to automate every appliance. Do not use a general-purpose smart plug to control a portable space heater. The U.S. Consumer Product Safety Commission advises plugging electric space heaters directly into a wall outlet, never an extension cord or power strip, to reduce overload and fire risk. Follow the appliance manual, plug, switch, outlet, and smart-device manufacturer instructions; when any instruction conflicts, do not automate the appliance.
Do not automate cooking appliances, motor loads, heating equipment, or any device that could create a hazard when it starts unattended unless the appliance and control system are specifically designed, listed, and instructed for that use. Replace damaged cords, warm or discolored outlets, and loose receptacles before adding connected controls.
Accounts, cameras, and household consent
Enable multifactor authentication, install firmware updates, and remove default or temporary credentials. Put cameras only where everyone with a reasonable expectation of privacy understands and accepts them. Review recording zones, audio capture, retention, sharing, and law or lease requirements for your location.
If a camera or doorbell matters during an internet outage, verify the exact model’s local recording and power behavior. A microSD slot alone does not guarantee continuous local recording, and a battery backup does not guarantee internet connectivity.
10. Adapt the plan to your constraints
Renters and apartments
Favor removable sensors, bulbs, plugs, freestanding cameras, and retrofit controls that do not require permanent wiring. Keep original hardware, protect paint and surfaces, and obtain written permission before drilling, replacing a lock, altering wiring, or installing exterior equipment. Your lease and local rules take priority over a product’s “renter friendly” marketing.
Accessibility and independent living
Automation should reduce steps without removing control. Use large physical buttons, consistent placement, clear voice names, and routines that do not depend on perfect speech, hearing, vision, memory, or dexterity. Keep emergency and essential functions usable without a phone. Test with the person who will rely on the setup rather than designing around assumptions.
Privacy-first or local setups
Prefer devices whose essential controls and automations can run on the local network, then verify what still depends on the vendor’s cloud. Local control can improve resilience and data minimization, but it does not remove the need for updates, backups, secure remote access, and account management.
Common setup problems
The device will not pair
Confirm the exact compatibility requirements, bring the device closer to the router or hub, update the app and controller, and follow the manufacturer’s reset sequence. Check whether setup requires Bluetooth, location permission, a 2.4 GHz connection, or a specific hub. Do not permanently weaken router security just to complete pairing.
The device goes offline
Check power, battery level, Wi-Fi or mesh signal, hub status, firmware, and whether the vendor has a service outage. If the problem occurs only in the final location, improve coverage or add the protocol’s appropriate powered repeater rather than repeatedly resetting the device. For a systematic, reversible diagnosis, follow our smart-home Wi-Fi, Matter, and Thread troubleshooting guide.
An automation is inconsistent
Temporarily reduce it to one trigger and one action. Check time zones, sunset settings, presence permissions, sensor cooldowns, and conflicting routines. Add conditions back one at a time, documenting what changed.
Household members cannot control devices
Use the platform’s household invitation process, confirm that devices are in the shared home, and check role permissions. Avoid solving access problems by sharing the owner’s password.
A sensible first-home shopping plan
For many beginners, the smallest useful setup is:
- the phone and platform already used by the household;
- one physical button or existing wall control;
- one or two lights or a correctly rated smart plug used with a simple lamp;
- optionally, one motion or contact sensor;
- no new hub unless those chosen devices require one.
This is enough to learn naming, sharing, firmware updates, automations, and troubleshooting without creating a house full of dependencies. Expand when the first setup has proved useful and reliable—not because a bundle is discounted.
What to do next
- Choose one room and write one outcome.
- List the control platform and every person who needs access.
- Check coverage at the installation point.
- Use the compatibility and safety checklist above.
- Install one category, test it for a week, and document what you learn.
Once the basics are stable, move to a focused guide instead of buying broadly: budget smart lighting, smart-plug and contact-sensor routines, thermostat compatibility, safe energy measurement, or account and access privacy. Compare devices only after you know the requirements for your room and platform.
Sources and editorial method
- Connectivity Standards Alliance: Matter overview
- Thread Group: Thread benefits and technical overview
- CISA: Cybersecurity best practices
- U.S. CPSC: portable-heater safety guidance
Editorial note: This guide is based on standards-body, government, and manufacturer documentation. It does not claim hands-on testing of every platform or product. Compatibility and features can change; confirm the exact model and current platform documentation before purchase or installation. Last reviewed September 2026.