
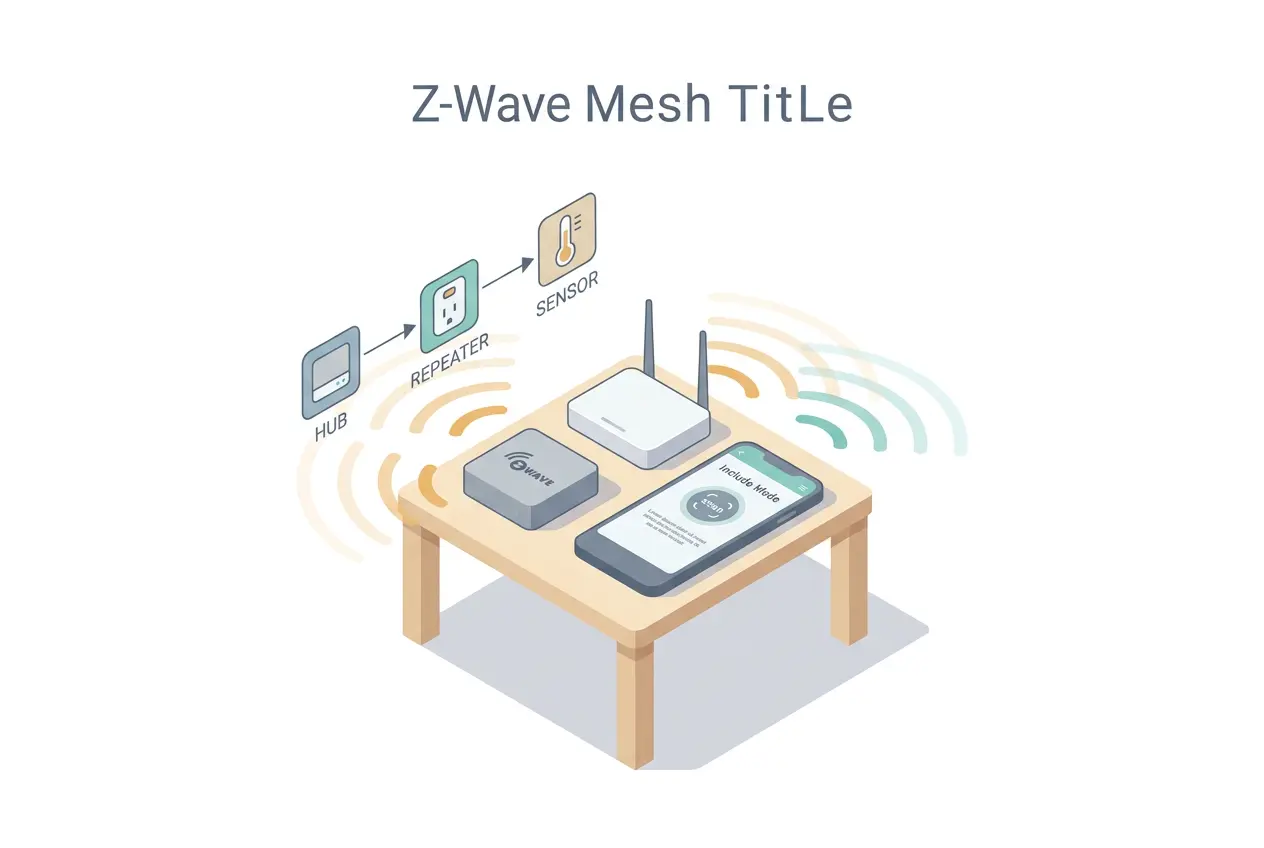
A reliable Z-Wave hub installation is less about rushing through pairing and more about verifying compatibility, updating the controller, and adding devices through the security method supported by the hub and accessory. SmartStart can simplify inclusion, but it is not the only valid path—and exclusion is a recovery step, not something every brand-new device automatically needs.
This guide explains the common sequence while leaving model-specific button presses and menus to the hub and device manuals. Z-Wave regions, controller features, security support, and Long Range availability vary, so the exact manufacturer instructions always control.
First decide whether a Z-Wave hub fits your system
A Z-Wave network needs a controller. That controller may be a dedicated hub, an alarm panel, or another home-automation platform with a compatible Z-Wave radio. The hub manages device inclusion, security keys, automations, and network information; your phone normally connects to the hub’s app or local interface rather than directly replacing the Z-Wave controller.
If you are planning a broader system, read our smart-home setup guide and smart-home cost guide first. If voice control is part of the plan, our Alexa smart-home setup guide explains how the control layer differs from the device network.
Compatibility checks before buying or pairing
1. Match the Z-Wave region
Z-Wave uses different radio frequencies in different markets. A device built for one region may be incompatible or unlawful to operate in another. Verify the regional version of both the hub and every accessory from the manufacturer’s specifications; do not rely on a marketplace title alone.
2. Confirm certification and hub support
The Z-Wave Alliance maintains a Certified Product Guide. Certification is a useful interoperability baseline, but it does not guarantee that a particular hub exposes every parameter, command class, association, sensor value, or vendor feature. Also check the hub manufacturer’s compatibility list and driver documentation.
3. Identify the inclusion method
| Method | What it uses | Important checks |
|---|---|---|
| SmartStart | A device-specific QR code or Device Specific Key (DSK) is added to the controller’s provisioning list. The device can then request inclusion when powered. | The hub and device must support SmartStart. Z-Wave Long Range devices use SmartStart. |
| Classic inclusion | The hub enters inclusion mode and the device’s documented action starts pairing. | Follow the exact button sequence and security prompts for the model. |
| Exclusion | The controller sends a general removal command while the device performs its documented exclusion action. | Use when removing a device or clearing a device that still belongs to another network. It is not automatically required for every factory-new device. |
Silicon Labs describes SmartStart as a process in which an authorized device announces itself and the gateway can begin inclusion after its DSK has been provisioned. Its SmartStart introduction provides the protocol background.
Prepare the hub and account
- Read the hub’s installation and backup documentation before adding devices.
- Use the supplied power adapter and the network connection required by the hub.
- Create the administrator account through the official app or local interface.
- Use a unique password and multifactor authentication when the platform offers it.
- Install stable hub firmware before building the network, then allow the hub to restart fully.
- Confirm the correct time zone, location, and backup settings.
- Record the hub model and firmware version for future troubleshooting.
Do not expose a local hub interface directly to the public internet or enable remote-access methods that the vendor does not support. Use the manufacturer’s documented remote service, VPN guidance, or other approved access path.
Position the hub
Put the hub on a stable, ventilated surface away from large metal objects, electrical panels, dense equipment racks, and the floor. A central position can help a conventional mesh, but the right location also depends on the first powered Z-Wave devices, building materials, and whether the network uses Z-Wave Long Range.
Conventional Z-Wave mesh and Z-Wave Long Range should not be treated as the same topology. Mains-powered routing devices can strengthen a mesh when placed appropriately; battery-powered sensors normally conserve energy rather than acting as always-available repeaters. Long Range devices communicate differently and require compatible hub support. Do not move the hub repeatedly while onboarding devices unless the manufacturer tells you to pair nearby.
Method A: add a device with SmartStart
- Locate the device’s DSK or QR code. It may be printed on the product, packaging, or an insert. Keep the code private because it is used to identify and authorize the device.
- Open the hub’s SmartStart or provisioning page. Use the official app or local administrator interface.
- Scan or enter the DSK. Confirm that the displayed digits match the physical device label.
- Choose supported security options only as directed. Do not downgrade security merely to make an unexplained pairing failure disappear.
- Name the pending device clearly. Record the room and intended purpose before several identical sensors appear.
- Power or reset the device as its manual instructs. SmartStart inclusion may begin after the provisioned device announces itself.
- Wait for the full interview or configuration. Do not assume that the first appearance in the device list means setup is complete.
- Test basic control and reporting. Confirm commands, sensor values, battery status, and any security-class information the hub exposes.
Silicon Labs identifies SmartStart with S2 security as the preferred inclusion method for Z-Wave Plus V2 and Z-Wave Long Range in its inclusion documentation.
Method B: use classic inclusion
- Place the hub in its documented Z-Wave inclusion mode.
- Perform the accessory’s exact inclusion action—often a particular button press or power sequence.
- Stay with the process and watch for a DSK or security prompt.
- Verify the requested digits against the physical device rather than approving them blindly.
- Wait until the hub reports completion, then give the device a unique name and room.
- Test the device before adding another one.
Add one device at a time. If a battery device pauses during configuration, its manual may require it to be awakened again. Repeatedly pressing its inclusion control can restart or interrupt the process, so follow the product’s timing rather than guessing.
When exclusion is appropriate
A device can belong to only one Z-Wave network at a time. If it was previously included—even on a different or unavailable hub—it may need a general exclusion before the new controller can include it.
- Open the hub’s Z-Wave exclusion tool.
- Put the accessory into exclusion mode using its official sequence.
- Wait for the hub to confirm that a device was excluded.
- Return to inclusion or SmartStart and follow the normal process.
Many controllers can issue a general exclusion to a device from another network, but the hub manual controls the procedure. If SmartStart is involved, remove or correct an obsolete provisioning-list entry when the vendor instructs you to; otherwise the device may try to rejoin. Hubitat’s Z-Wave manual documents this relationship for its platform.
Build the network in a manageable order
Start with the hub, then add a small number of powered devices in their intended locations before adding distant battery sensors. This is a planning guideline, not a universal requirement. Modern controllers can update routes and each platform has its own maintenance tools.
After each inclusion:
- Use a unique name that includes the room or function.
- Confirm the device type or driver chosen by the hub.
- Test every safety-relevant function manually before automating it.
- Check that battery, contact, motion, temperature, or power reports update as expected.
- Allow the network to settle before diagnosing every delayed report as a mesh failure.
Avoid running “repair,” route rebuilding, or destructive cleanup tools simply because they exist. Z-Wave Long Range does not use the same mesh routes as conventional Z-Wave, and sleeping devices behave differently from powered routers.
Security and backup checks
- Prefer the security method supported by both certified products and recommended by their manuals.
- Verify DSK digits during S2 inclusion and do not publish QR codes or full keys.
- Protect the hub administrator account and any cloud account connected to it.
- Install signed firmware through the official platform.
- Enable supported backups and understand whether Z-Wave radio data is included.
- Keep a device inventory with model, room, inclusion method, and installation date.
A hub backup is only useful if it contains the data needed by that platform and can be restored to supported hardware. Read the vendor’s backup and migration documentation before a hub failure, not after one.
Troubleshooting in the right order
| Symptom | Check first |
|---|---|
| Device is never discovered | Region, hub compatibility, power, distance, correct inclusion action, and whether the device already belongs to a network. |
| SmartStart entry stays pending | Correct DSK, compatible hub/device, device power or reset state, stale provisioning entry, and the vendor’s SmartStart instructions. |
| Security prompt fails | DSK digits, firmware, product support, and whether the device was previously included. Do not automatically select no security. |
| Device appears but has missing controls | Interview completion, device wake-up, correct driver, supported command classes, and hub compatibility. |
| Battery device reports slowly | Wake-up interval, manual wake procedure, battery condition, mesh coverage, and what the device is actually designed to report. |
| A failed device leaves an incomplete node | Use the hub’s documented failed-node or ghost-node procedure. Do not force-remove arbitrary entries without identifying the physical device. |
When troubleshooting, change one variable at a time and save screenshots or logs that identify the hub, device, firmware, and exact error. This is more useful to vendor support than repeatedly resetting the entire network.
Renters and reversible installations
The hub itself is normally removable, but not every Z-Wave accessory is renter-friendly. Plug-in modules and freestanding sensors are usually easier to reverse than wired switches, thermostats, locks, or in-wall relays. Obtain written permission before altering building hardware or wiring, preserve original parts, and use a qualified installer where electrical or life-safety systems are involved.
At move-out, document each device, remove it through the hub when possible, then factory-reset it according to the manufacturer’s instructions. Do not simply unplug the hub and leave every accessory joined to an inaccessible network.
Official references
- Z-Wave Alliance
- Z-Wave Alliance Certified Product Guide
- Silicon Labs: Introduction to Z-Wave SmartStart
- Silicon Labs: Z-Wave inclusion documentation
- Hubitat Z-Wave Manual
- Hubitat: Add Device
Editorial note: This guide is based on Z-Wave Alliance, Silicon Labs, and hub-manufacturer documentation. It does not claim hands-on testing of every hub or accessory. Regional rules and the exact manuals for your controller and devices take precedence.