
You can build useful smart lighting without replacing the wiring or buying an entire new ecosystem. The more reliable budget method is to start with an existing lamp, identify what you want it to do, and buy only the compatible pieces needed for that task. An inexpensive bulb that flickers in a dimmer, loses power at the wall switch or cannot join your controller is not a bargain.
Start here: choose one room, confirm the fixture and lamp base, check the brightness and color you actually need, decide how it will be controlled, and compare the complete installed cost rather than one sale price. For renters, favor a removable lamp or bulb and keep the original parts. Do not modify a fixed switch or fixture without permission and the appropriate qualified installer.
Editorial scope: This guide uses official lighting and manufacturer documentation to explain decisions, compatibility and setup. It does not claim hands-on testing of every brand, quote live retail prices, or promise an exact savings percentage.
The cheapest useful starting point is one working room
Begin with a specific frustration: a dark entryway after sunset, a bedside lamp you want to dim without getting up, or a desk light with a predictable schedule. Write down the present light, its wall switch, outlet, fixture type and who needs manual control. If the room already has good LED lighting, “smart” features may bring convenience but little additional energy reduction. Buying multiple bulbs before verifying the first one multiplies the compatibility risk.
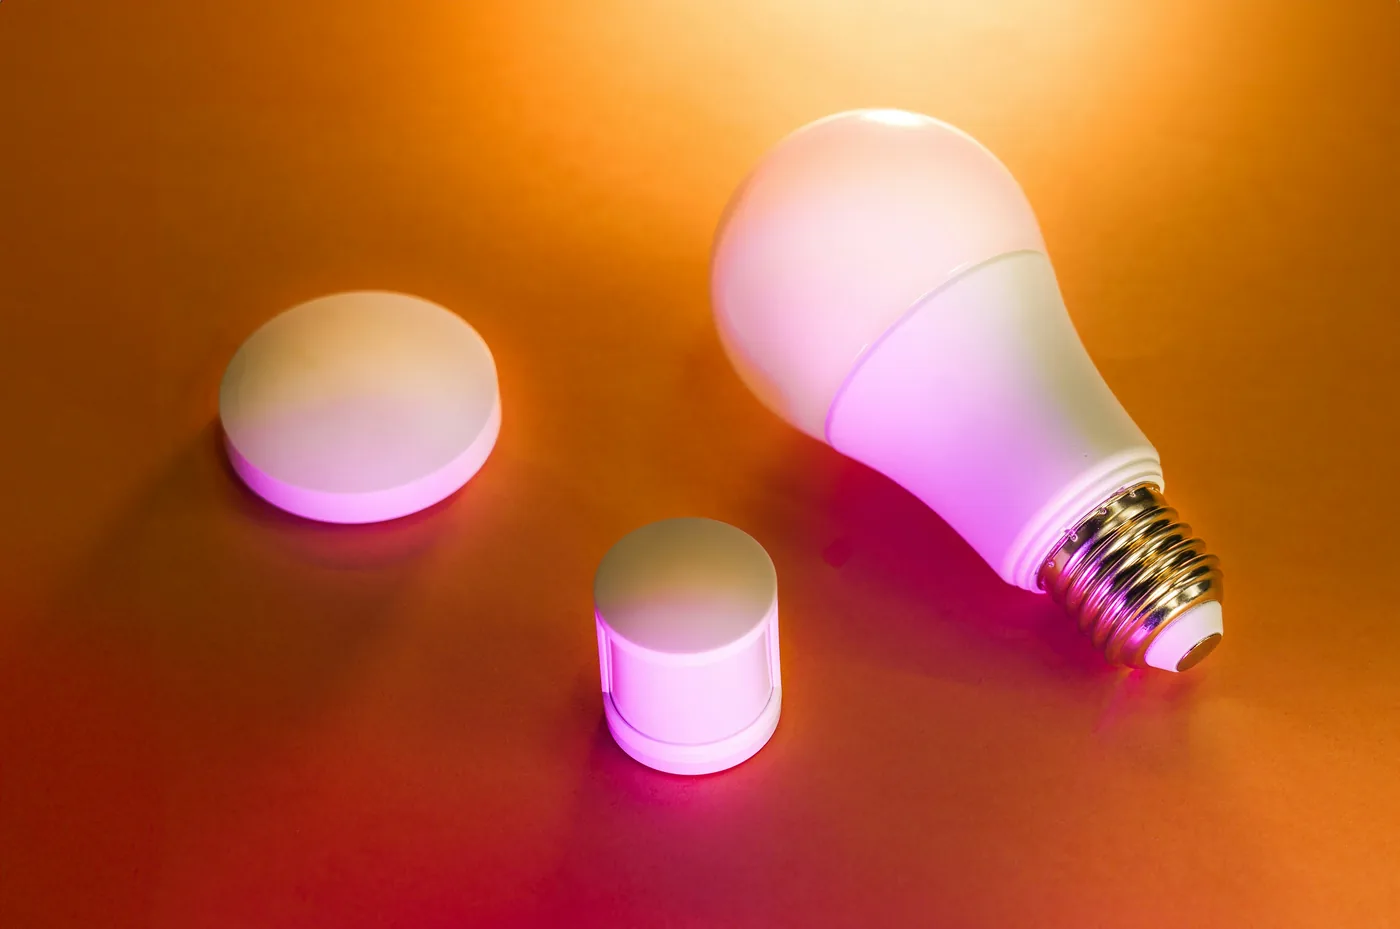
A practical first-phase plan might be one compatible smart bulb in a movable lamp, or an appropriate smart plug controlling an ordinary lamp that already has a simple on/off switch. These are different solutions: the bulb can provide light-level or color controls if specified; a standard smart plug switches power to the connected load and does not make a conventional bulb dimmable.
| Choice | Useful when | Verify before buying |
|---|---|---|
| Smart screw-in bulb | You need app dimming, adjustable color temperature or an automation for one existing lamp. | Correct base, shape, lumens, fixture restrictions, local voltage, controller and wall-switch behavior. |
| Energy-rated smart plug and ordinary lamp | You need simple on/off scheduling and the lamp is safe for remote power control. | Approved connected load, plug rating, switch position and the appliance maker’s rules. |
| Compatible wireless button or motion sensor | You need physical control or a defined trigger without altering the wall box. | Supported hub, protocol, automation platform, batteries and mounting requirements. |
| Hardwired smart wall switch or dimmer | Permanent fixture control is appropriate and authorized. | Load/LED dimmer compatibility, wiring and neutral requirements; qualified installation and property permission. |
Choose brightness and appearance from the label
Do not use watts as a brightness rating: a watt measures power, while a lumen measures light output. The U.S. Department of Energy’s consumer lighting guide explains that the Lighting Facts label helps compare brightness, color appearance and energy use. Compare the output and shape with the lamp you already know works in that room.
Correlated color temperature is measured in kelvin (K). Lower values look warmer or yellower, while higher values appear cooler or bluer. A warm bedside scene, clear task lighting and an accent lamp may have different requirements; do not pay for RGB color if all you want is a reliable warm-white schedule. Check the maker’s published lumens at the intended color and dimming level; advertised maximum output may describe only one mode.
Check the physical bulb base (for example, E26 versus another regional fitting), diameter, overall length, rated ambient conditions and whether the luminaire is enclosed. A connected bulb has electronics that may need temperature limits. The exact bulb packaging and luminaire label decide suitability, not just whether it fits into the socket.
Wi-Fi, Zigbee and Matter are not interchangeable labels
A low-cost Wi-Fi bulb typically joins your home network and its manufacturer app. It may not need a dedicated lighting hub, but it still depends on compatible Wi-Fi coverage and, for some features, the vendor service. Being able to use Alexa or Google voice control does not automatically mean the bulb is certified for Matter or can move to every ecosystem.
A Zigbee bulb generally needs an appropriate Zigbee coordinator or bridge and an integration supporting that model. Its mesh can use compatible mains-powered routers, but the exact hub and profile support matter. A Philips Hue Bridge, for example, manages Hue lighting over Zigbee and exposes supported devices to other ecosystems through a Matter bridge integration. Philips Hue explains that Bluetooth-only connections do not gain Matter support through the Bridge unless the bulb is connected to that Bridge.
Some newer lights are direct Matter devices rather than Zigbee bulbs exposed through a bridge. Depending on the radio they use, they may need a compatible Thread border router or Wi-Fi network and a Matter controller. Do not assume every “Matter” product supports every manufacturer-specific scene, effect or diagnostic feature in every app.
| Connection route | Extra equipment | What to confirm |
|---|---|---|
| Manufacturer Wi-Fi bulb | Usually router and supported app. | Supported Wi-Fi band, account, internet/offline behavior and integration. |
| Zigbee bulb | Compatible coordinator or bridge. | Exact model pairing, firmware, supported features and regional radio requirements. |
| Matter over Wi-Fi | Compatible Matter controller and Wi-Fi. | Device certification, ecosystem feature support and commissioning procedure. |
| Matter over Thread | Compatible controller plus Thread border router. | Radio/firmware, Thread network and actual platform support. |
| Zigbee via Matter bridge | Supported Zigbee bridge exposing supported features. | Which bridge-connected devices and functions are shared with the Matter app. |
Wall switches, dimmers and power restoration
A smart bulb needs power to receive commands. If you are deciding whether the control should live in the bulb or at the wall, see our Smart Bulbs vs Smart Switches guide. If the household turns off its existing mechanical wall switch, the bulb goes offline until power returns. TP-Link’s schedule and timer FAQ explicitly says its bulbs cannot carry out app functions while the physical switch cuts their power. Use a compatible wireless control if you want an easy tactile alternative and avoid confusing other household members.
Do not assume a smart bulb is compatible with a traditional phase-cut wall dimmer. Our smart dimmer compatibility guide explains the neutral, load and multi-way checks for hardwired controls. Check both bulb and dimmer makers’ guidance; incompatibility can cause flicker, unreliable operation or damage. ENERGY STAR lighting guidance notes that not every LED works with every dimmer, and consumers should consult model-specific compatibility lists.
Review the bulb’s “power-on” or “default state” setting before scheduling a bedroom or entryway. Depending on model, restored power might turn the bulb on, keep it off, or restore a remembered brightness. TP-Link documents model-dependent Tapo default states. Test how your specific product behaves after the lamp’s physical switch is operated, rather than assuming the app’s last state is universal.
Set up a bedroom or living-room lamp in seven steps
1. Choose a fixture that can be changed safely
Start with a movable lamp, not an unfamiliar ceiling circuit. Check bulb base, fixture wattage limit, bulb dimensions, enclosure rating and local voltage. If you rent, confirm the proposed change is allowed, keep the existing bulb and take a quick photograph for restoration. If the light must remain available as an emergency route or for a vulnerable household member, plan manual control first.
2. Decide bulb versus plug
Choose a supported bulb for dimming or color control. A plug is for safe on/off switching of a compatible ordinary lamp. If the lamp uses an electronic touch switch or fails to resume normal operation when mains power returns, plug-based automation may not behave as expected. Never use a generic smart plug as a heater, motor or critical-appliance control merely because it has a high amperage number.
3. Confirm one ecosystem before buying multiples
Check the exact product’s manual for pairing requirements and supported platform. Record whether setup uses the native app, Matter, a Zigbee bridge or a separate local hub. A brand name and a voice-assistant logo alone do not establish identical features across product generations. Buy or try one item before investing in a roomful of devices.
4. Pair and name the light clearly
Follow the official pairing procedure and use an understandable name such as “Bedroom bedside lamp,” rather than three devices all named “Light.” Place the lamp within suitable radio coverage. Apply official firmware updates when safe, record model and account owner in your inventory, and keep any setup code or recovery secret somewhere protected, not in a publicly shared worksheet.
5. Set the desired power-recovery and manual behavior
Test what happens after the physical lamp switch is used and power returns. Make sure the light does not turn on at an unwanted brightness in the middle of the night. Explain the preferred manual control to everyone who shares the room. A wireless button can be a practical alternative if its actual bulb/hub combination supports the intended action.
6. Add one understandable routine
Choose one schedule, such as a bedside lamp gradually dimming in the evening or an entry lamp coming on near sunset. TP-Link’s 2026 guide to schedules and timers distinguishes repeated schedules, countdown timers and Away Mode. Confirm time zone, sunrise/sunset calculation and what happens when internet access drops. Do not create overlapping rules in several apps until a single routine works reliably.
7. Test and document the outcome
Test ordinary on/off, intended brightness, manual overrides, a brief network outage where practical, and the next scheduled event. If a button or motion sensor is added, verify that it is actually supported. Write down the cost, parts you retained, app owner and restoration steps. Use our Planning Worksheet to capture the room and its dependencies, then the Device Inventory Tracker for later handover.
Three lighting ideas with realistic limits
Bedside lamp: comfort before automation
A single dimmable smart bulb in a permitted lamp can provide evening light without modifying the wall circuit. Compare the bulb’s usable lumen output and white-temperature range, then choose a familiar manual control. If the person who sleeps there finds an app-only switch inconvenient, a supported button matters more than a complicated color scene.
Hallway: provide light, not false confidence
Where motion sensing is supported, a PIR sensor may trigger a pathway light for a set period. It does not reliably know whether a still person remains present. Choose a time window, a manual override and a suitable brightness that does not dazzle residents. Do not replace required emergency lighting or safety-critical visibility with an internet-dependent routine.
Desk or living room: divide task and accent light
A work area may need a dependable task light plus a lower-output ambient lamp. Verify lumens and color appearance before assuming an inexpensive color bulb will be adequate for reading or close work. If several lights need to react together, check whether the chosen native app or controller supports a group or scene for those specific models.
Build an honest budget instead of trusting a shopping list
Device prices change by retailer, region, bundle, promotion and availability. A list that quotes one “2026 price” for a specific bulb without a dated retailer and SKU is not a durable buying guide. Compare full cost with your local, current quotes, including a required hub, wireless button, batteries, mounting materials, replacement bulbs and any subscription. If you already own a suitable hub or lamp, record that as an existing asset rather than charging yourself again.
| Cost row | What to verify | Your dated local quote |
|---|---|---|
| Primary bulb or approved plug | Exact model, features and retailer. | __________ |
| Hub / bridge / border router (if required) | Supported model and whether you own it already. | __________ |
| Button / motion sensor (optional) | Compatible controller and batteries. | __________ |
| Other parts / professional work | Mounting, permissions, electrical installation if needed. | __________ |
| Ongoing fees / replacements | Subscription, bulb replacements and supplies. | __________ |
Start with the lowest-cost option that satisfies the use case and safety requirements, then decide whether extra scenes or color effects merit the premium. The Cost & Budget Calculator lets you enter actual quotes and keep initial purchases separate from ongoing costs. It uses editable sample assumptions, not live store prices.
Troubleshooting: fix the setup before buying more devices
- Bulb appears offline: confirm the physical switch is on, then follow the manufacturer’s network and pairing instructions. Do not repeatedly reset other equipment without a reason.
- Unexpected brightness after power restoration: check the supported default-state option and test with the specific lamp.
- Flicker or buzzing: stop using an unsupported dimmer/bulb combination; consult the manufacturers or a qualified installer.
- Routine did not run: check time zone, daylight-saving changes, hub/app service availability and conflicting schedules.
- Wireless button does nothing: verify the button, bulb, controller and intended action are compatible, not just that they use the same radio name.
- Sensor turns off a light while someone is still: distinguish movement detection from true presence and add an appropriate hold time or manual override.
- The next resident cannot use the lights: resolve account ownership and any bridge registration, delete your own shared access and restore the agreed hardware.
Before-you-buy worksheet
| Question | Your answer |
|---|---|
| Room / specific lighting outcome | ________________________ |
| Existing fixture, bulb base, enclosure and voltage | ________________________ |
| Brightness (lumens), color appearance and dimming need | ________________________ |
| Connection path / exact app or hub | ________________________ |
| Manual override and power-recovery behavior | ________________________ |
| Property permission and restoration plan | ________________________ |
| Actual dated quote, required accessories and total | ________________________ |
| Test results and unresolved compatibility | ________________________ |
Official references and editorial method
- U.S. Department of Energy: Consumer Guide to Energy-Efficient Lighting (brightness, Lighting Facts, shape and controls).
- ENERGY STAR: Lighting and dimmer compatibility guidance.
- Philips Hue: Bridge and Matter support and limitations and Bridge operation.
- TP-Link: schedules and physical-switch behavior, bulb default states, and schedule/timer setup.
Editorial note (reviewed September 26, 2026): This article explains a method using primary documentation. It does not present current prices, verified performance benchmarks or first-hand testing of the listed products. Check the exact regional SKU and current manual before buying or installing.