
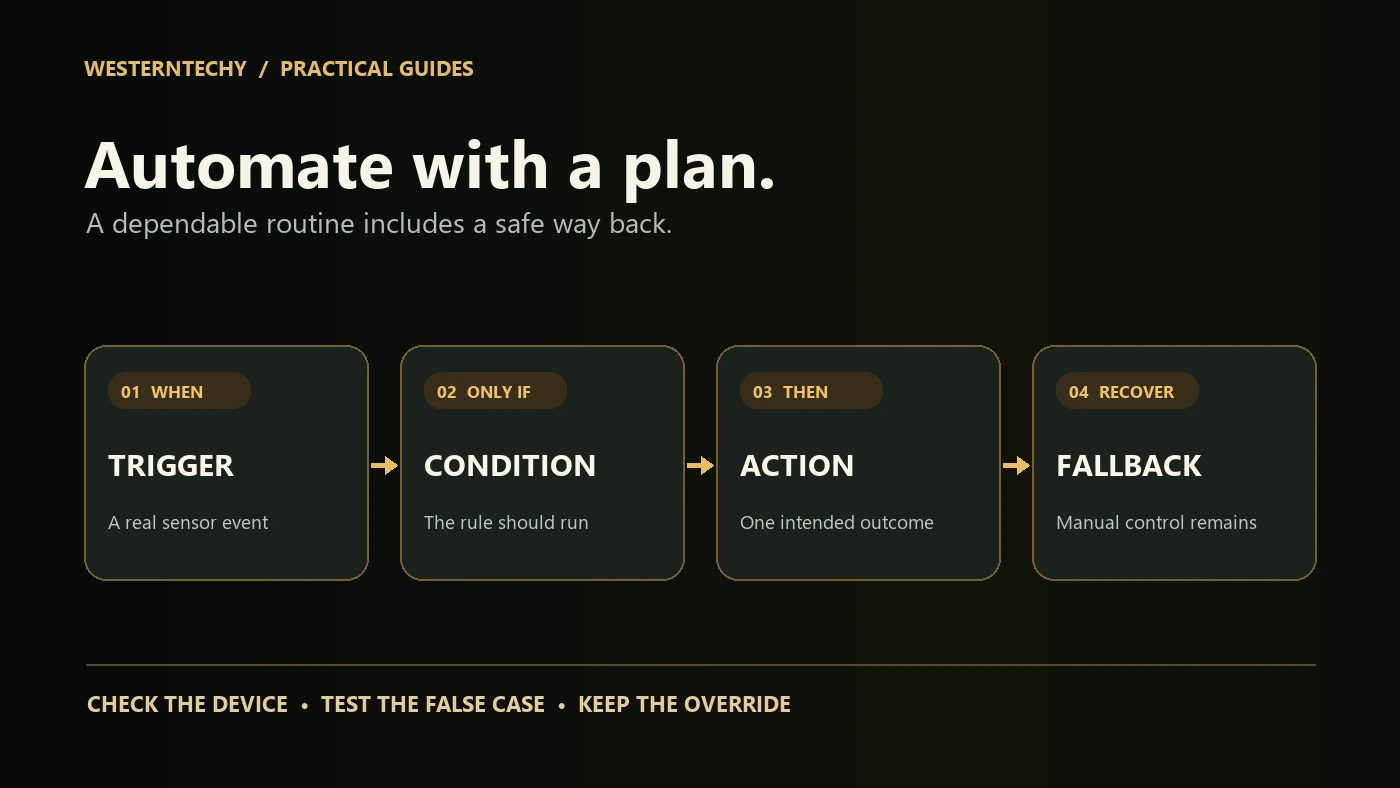
A light that comes on when you enter a room seems like a simple automation—until it switches off while someone is still reading, runs in daylight, or keeps repeating after the internet fails. The useful starting point is not a platform or an expensive sensor. It is a clear description of the event, the circumstances in which it should run, and what a person can do when it behaves unexpectedly.
This guide shows how to plan and test everyday smart-home routines across Alexa, Apple Home, Google Home and Home Assistant. Their menus, supported triggers and conditions are not identical. We will use a common design method, then point to each platform’s own instructions where the implementation differs. Examples are planning exercises, not claims that WesternTechy tested every combination of devices or firmware.
Think in five parts—not one clever command
| Part | Question to answer | Hallway-light example |
|---|---|---|
| Trigger | What event starts the rule? | Motion is detected. |
| Condition | When is that event allowed to act? | Only during a chosen evening/night interval. |
| Action | What should the device do? | Turn on the hallway light at an appropriate brightness. |
| Stop or reset | How does it end without annoying people? | Use an appropriate clear/off delay, observing actual sensor behavior. |
| Fallback | What if the app, sensor or connection fails? | Keep a safe, understood manual lighting control. |
A trigger is not the same as a condition. Home Assistant’s documentation, for example, distinguishes an event that starts automation evaluation from a current-state test that may block the actions. Google Home’s current household automation editor similarly documents starters, conditions and actions, but feature availability can differ between its editors. This distinction prevents a common mistake: a motion trigger may still fire while the room is bright, so the condition has to stop unnecessary action. See the Home Assistant explanation and Google Home’s supported components.
Choose one useful job and define success
Write a one-sentence outcome such as “Illuminate the hallway after dark when somebody passes, while preserving manual control.” Name the device to be controlled, the people affected and the minimum acceptable result. Do not start with “automate everything.” A single useful rule is easier to troubleshoot and less likely to create conflicting behaviors.
Record the exact lamp, switch, plug and sensor models. Check what their own apps expose to your chosen platform. A device being available in a voice assistant does not establish support for every sensor event or condition. Matter compatibility likewise does not imply that every ecosystem exposes identical automation features; verify the actual device type, firmware, controller and intended action. Our compatibility matrix provides a model-level worksheet rather than a blanket “works with” promise.
Pick a low-risk first project
Good practice projects include a bedside lamp schedule, a pantry light triggered by a compatible door sensor, or a reminder after an entry sensor changes state. Keep emergency access, smoke/CO alarms, required bathroom ventilation and other safety-critical functions independent of a convenience automation. Do not turn heaters, motor-driven appliances or equipment that must remain powered into casual smart-plug experiments; inspect the appliance and plug manufacturer’s instructions and electrical ratings first.
Map the actual control path
Before creating the rule, trace how the signal travels: sensor → its radio or network → compatible hub or controller → automation engine → destination device. Wi-Fi, Thread, Zigbee, Z-Wave and cloud integrations can follow different paths. A Thread radio does not automatically mean a device can be controlled as Matter, and Zigbee devices do not natively interoperate with Matter without a supported bridge. Check the documentation for the exact products you have, not a generic protocol logo. The Connectivity Standards Alliance Matter FAQ explains the Zigbee/Matter distinction.
Identify the account and home owner, local administrator and any shared household users. For a rental, do not alter shared networking or permanent controls without permission. If a hub or platform is required, confirm it is installed, updated and associated with the intended home before pairing accessories. Our network troubleshooting Guide covers discovery, isolation and reversible checks.
Build the first routine in a reliable order
1. Prove manual control first
Operate the lamp or other low-risk device from its normal physical control and its native application. If it is already unreliable, do not hide the fault under a new routine. Confirm firmware and household permissions, and name devices so a visitor can distinguish “Hall Lamp” from “Desk Lamp.”
2. Add one trigger and one action
Create the smallest working version: motion detected → hallway light on, or a supported contact sensor opens → pantry lamp on. Trigger the real sensor and observe the real light; do not rely only on a green app status or a simulated action button. Where supported, use the platform’s built-in routine/automation editor rather than inventing advanced syntax.
3. Add conditions deliberately
Choose a time window, light-level threshold or home occupancy rule only if the platform and device actually offer it. “After sunset” depends on the home’s location/timezone; a lux threshold depends on where the sensor measures light. A condition that checks the current state does not rewrite an event that has already occurred. Document the condition’s expected true and false cases before adding another.
4. Define a predictable end state
For motion lighting, choose a delay that reflects actual room use. PIR motion can miss someone sitting still; occupancy/presence is a different signal and should not be treated as interchangeable. Test both walking through and remaining quiet. Keep the manual wall-switch behavior understandable, and avoid rapidly alternating on/off actions across duplicate platforms.
5. Check who owns the routine
Use the platform’s supported household invitation or shared-home feature; do not share an owner’s login to make the routine visible. Record which account can edit, pause and delete it. If you move out or sell the property, review cloud links, shared users and device ownership separately. See our access and privacy handover Guide and device inventory tracker.
Find the equivalent controls in your chosen ecosystem
There is no universal menu that exposes all possible device triggers. Use this as a navigation map, not a claim that the platforms have feature parity. Check the exact home, accessory, app version and region before promising an automation to another household member.
| Platform | Documented starting point | Check before building |
|---|---|---|
| Amazon Alexa | Alexa app → More → Routines → add an event and action. | Which event the particular device exposes; additional settings and conditions vary. |
| Apple Home | Home app → Add Automation; options include time, people, accessory action and sensor. | Home hub/accessory requirements, household access and the supported trigger. |
| Google Home | Household automation in the current app editor using starters, optional conditions and actions. | Differences between newer and earlier editor/script features. |
| Home Assistant | Settings → Automations & scenes → Create automation; choose trigger, optional condition and action. | Entity state and integration support, plus the expected sequence and trace. |
Official procedures: Amazon: create an Alexa Routine, Apple: use Home automations, Google: supported starters, conditions and actions, and Home Assistant: automation editor. If a feature is absent, do not assume a different brand’s tutorial can unlock it.
Three practical examples with honest limitations
Example A: a pantry light that does not fight the wall switch
Goal: When the pantry door opens, turn on a compatible lamp; when it closes, turn the light off after a suitable delay. Check that the contact sensor exposes the open/close states in the controlling platform, and that the selected light can safely be controlled there. Confirm that physical switching still works if the controller is unavailable. Repeated open/close events and manual overrides are part of the test, not edge cases to ignore.
For a pantry, a door sensor may be more semantically appropriate than presence detection, but do not use its “closed” state as proof that the room is empty. A person could remain inside, and some sensors can report stale states if the network is down. Avoid using this rule for safety-critical lighting.
Example B: a night hallway light with a real off-delay
Goal: After dark, motion turns on a low-glare light and it remains on long enough to traverse the area. Test the sensor’s detection direction and cooldown; evaluate whether quiet presence is relevant. A short hardcoded timer may switch off while someone pauses on the stairs. Maintain a normal manual control and avoid relying on automation as the only way to illuminate a stairway.
Our separate motion versus presence Guide explains placement and differences between PIR and mmWave. That article is the deeper implementation reference; this page focuses on planning rules and failure handling across platforms.
Example C: a low-risk evening routine
Goal: At a chosen time, set two compatible lights to a modest evening scene. Verify the household time zone, daylight-saving transitions and whether a power interruption changes light state. If the routine includes a voice announcement, consider consent and quiet hours. Do not use a whole-home “off” action without understanding which devices it targets.
The action must be reversible: provide a physical or app-based way to return lights to normal. Add one device at a time and test the final routine twice before copying it to other rooms.
Test the false case as carefully as the true case
A routine is not ready merely because it worked once. Keep a short log of the actual trigger, current conditions, expected outcome and observed result. Start with a harmless load and test in the intended physical location.
| Test | Expected outcome | If it fails |
|---|---|---|
| Trigger fires in allowed time. | One intended action occurs. | Check event availability, state and target. |
| Trigger fires outside allowed time. | No unwanted action. | Inspect the condition and timezone. |
| Manual control used during routine. | Person can recover intended state. | Check conflicting rules and device behavior. |
| Multiple triggers occur quickly. | No rapid toggling or runaway repeats. | Review delays and concurrent-run settings. |
| Sensor/hub/network temporarily unavailable. | No safety-critical dependency; manual recovery possible. | Check the actual control path before resetting. |
| After power returns. | Known, acceptable light state. | Check device-specific power-on behavior. |
Home Assistant provides run traces that show triggering events, conditions and action paths; its “Run actions” control intentionally skips triggers and conditions, so it is not a substitute for testing the real event. Other platforms offer their own testing or history facilities with different detail. Read Home Assistant’s testing and trace documentation.
Fix failures in the right order
The action works manually but the rule never starts
Verify the automation is enabled, the correct home and device are selected, the sensor’s actual event appears in the native app, and the trigger is available in the selected platform. Test an event while standing at the installed location. A stale battery report or out-of-range wireless sensor is a device problem, not an argument for adding another routine.
The rule starts but nothing changes
Inspect all conditions, the target entity and access permissions. Check whether a condition is false at evaluation time or whether the action addresses a device in a different household or room. Temporarily reduce a safe rule to one action, then add its conditions back one by one.
The rule repeats, overlaps or turns devices off unexpectedly
Look for two different automation engines controlling the same device (for example a native-app schedule plus a platform routine), repeated event triggers and overly short off-delays. Home Assistant exposes run modes such as single, restart, queued and parallel; these are not interchangeable, especially for an automation containing delays. Review the documented run-mode behavior rather than guessing.
It breaks after changing router, hub or household owner
Record the previous working state, confirm power and wireless connection, inspect local discovery and shared-home permissions, and test only one change at a time. Do not factory-reset a working device or weaken router security as a first reaction. If you’re transferring the device, follow the maker’s ownership-release sequence rather than only removing a tile from an app.
Keep a manual exit, a change log and a handover plan
Before letting a routine run unattended, identify its owner and how to disable it. Label physical controls clearly when household members might otherwise think a lamp is broken. Do not automate another person’s bedroom or a shared home’s cameras, locks or occupancy reporting without appropriate consent and access controls. Treat routine history and location events as household information, not merely technical telemetry.
Record the platform, home name, trigger device, controlled device, conditions, delay, fallback and last verified date. If you alter firmware or change ecosystems, recheck the specific routine. A platform update that adds one Matter feature does not guarantee the same feature is now exposed to every connected app.
Copyable automation planning worksheet
| Item | Your answer |
|---|---|
| Room and useful outcome | ____________________________ |
| Owner and affected household members | ____________________________ |
| Exact devices, models and platform | ____________________________ |
| Trigger, including exact state | ____________________________ |
| Conditions, and a false-case test | ____________________________ |
| Actions and end-state/delay | ____________________________ |
| Manual override and safe fallback | ____________________________ |
| Observed tests and any problems | ____________________________ |
| Owner account, review date, removal plan | ____________________________ |
For a larger home, save model and ownership information in the Device Inventory & Account Transfer Tracker. For budgeting and setup order, use the Smart Home Planning Worksheet and our beginner setup Guide. These tools do not ask you to share credentials or full device serials publicly.
Official references and editorial method
- Home Assistant: trigger, condition and action basics, automation editor and testing and traces.
- Google Home: supported household automation starters, conditions and actions.
- Apple: create and manage Home automations.
- Amazon: create Alexa Routines.
- Connectivity Standards Alliance: Matter FAQs and protocol boundaries.
Editorial note (reviewed September 27, 2026): This is a documentation-based planning guide. The examples are illustrative and do not claim hands-on testing, universal device compatibility, or identical feature availability across ecosystems. Confirm current app instructions, model-specific restrictions, property permissions and the manufacturer’s safety guidance before using a routine. Prices, compatibility and features may change.