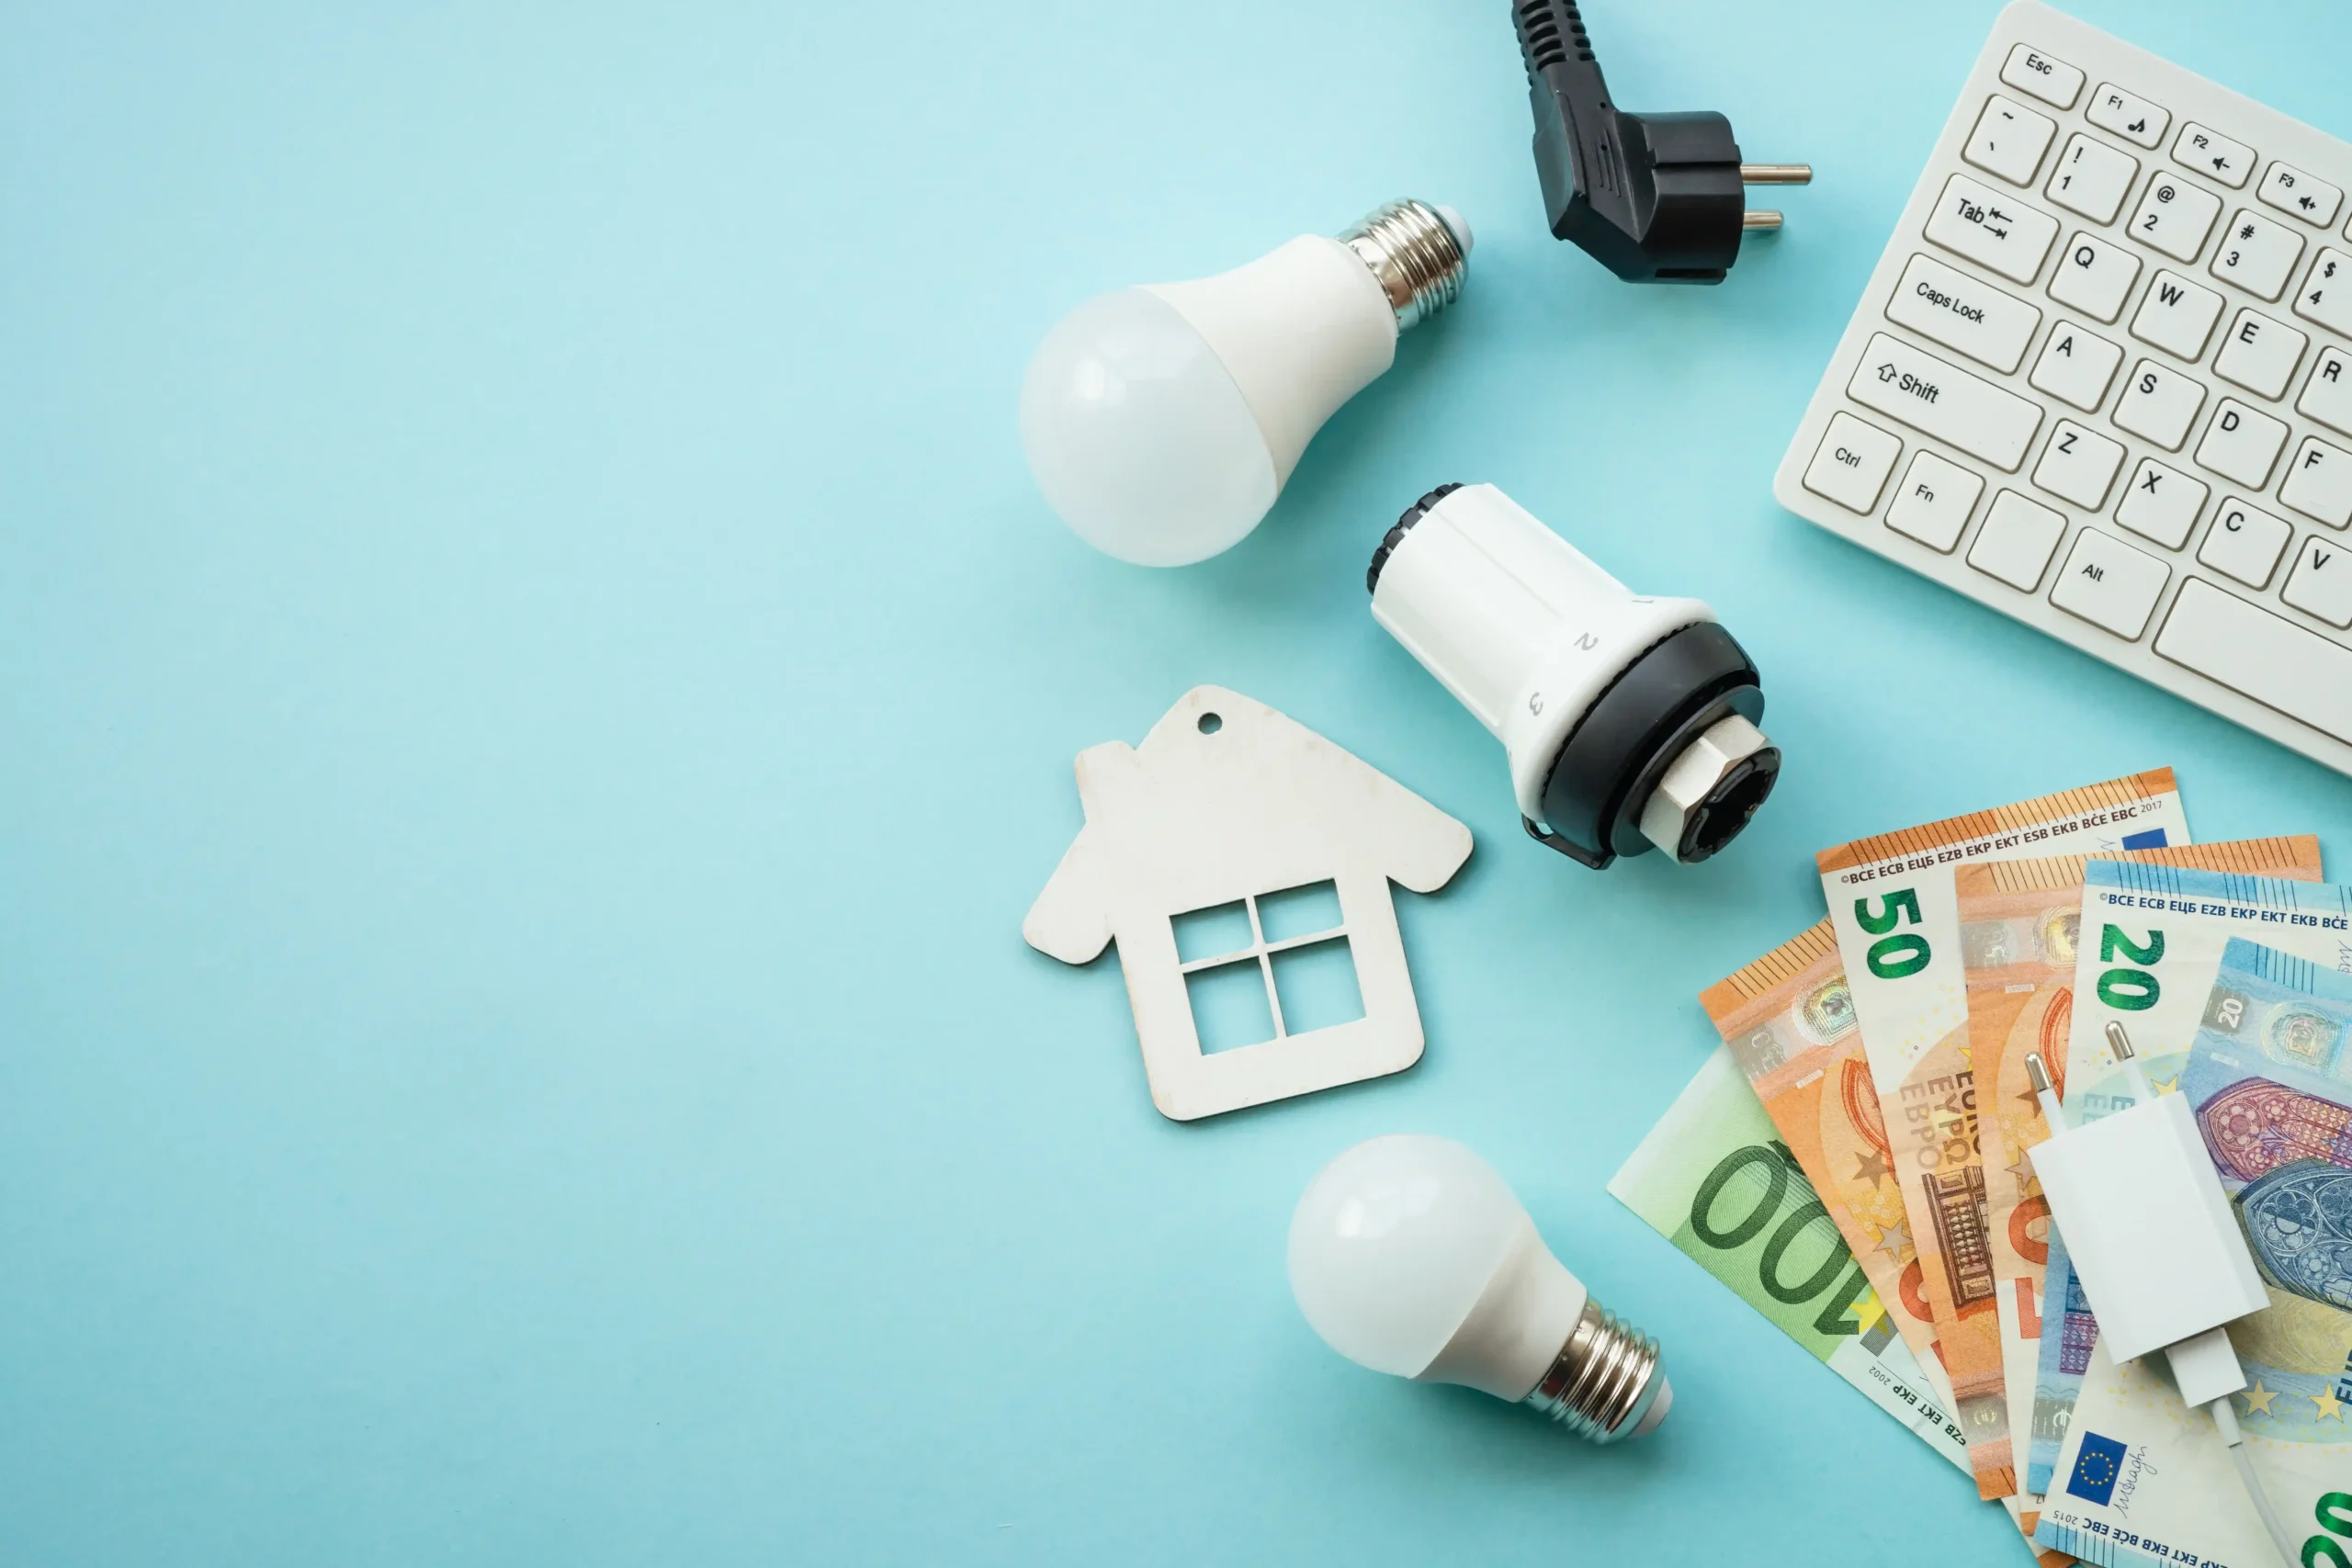
A useful smart home can start around $100, while a broad DIY setup often reaches $1,000 to $2,500 before professional labor. The total depends less on square footage than on what you automate: lighting and plugs are inexpensive; cameras, locks, thermostats, networking, subscriptions, and motorized shades raise the cost quickly.
The budgets below are planning estimates for U.S. buyers, checked in September 2026. They are not sale-price promises. Taxes, regional pricing, electrical or HVAC work, subscription changes, and the devices you already own can materially change the total.
Quick answer: what should you budget?
| Budget | Realistic result | Best for |
|---|---|---|
| $100–$200 | One-room lighting or plug automation with a simple sensor or button | Beginners and renters |
| $300–$500 | Two or three rooms, a basic controller, and several useful routines | Apartments and small homes |
| $750–$1,000 | Lighting plus a focused security, climate, or access upgrade | Long-term renters and homeowners |
| $1,500–$2,500 | A coordinated DIY system across several categories | Homeowners building in phases |
| $2,500+ | Whole-home coverage, premium hardware, shades, or professional installation | Larger homes and specialist projects |
If you are new to smart-home technology, begin with the smallest tier that solves one real problem. Our smart-home setup guide explains the order: choose the outcome and platform first, then add devices in tested phases.
What is included in a smart-home budget?
The sticker price of a device is only one line in the budget. Use this formula:
First-year cost = hardware + required controllers + installation + network upgrades + first-year subscriptions + consumables.
Three-year cost = first-year cost + two more years of subscriptions and consumables + a replacement allowance.
Count these categories before deciding that two products cost the same:
- Hardware: bulbs, plugs, sensors, cameras, locks, thermostats, switches, speakers, and shades.
- Controllers: a platform hub, protocol coordinator, Thread border router, or local controller if your design needs one.
- Network: router or mesh upgrades only when coverage tests show a real problem.
- Installation: electrical, HVAC, lock, plumbing, or mounting work you cannot safely or legally perform.
- Subscriptions: video history, professional monitoring, advanced alerts, or cloud remote access.
- Consumables: batteries, microSD cards, adhesive mounts, cable covers, and replacement sensors.
The $100–$200 plan: automate one room
This tier should create one dependable result, not a miniature version of every smart-home category.
Example allocation
| Item | Planning range | Purpose |
|---|---|---|
| Two to four smart bulbs or one lighting kit | $25–$80 | Schedules, scenes, and dimming |
| One or two smart plugs | $20–$50 | Control ordinary lamps and suitable low-risk devices |
| One motion sensor or wireless button | $20–$50 | Control without opening an app |
| Optional small speaker or controller | $0–$60 | Only if you do not already own a compatible controller |
A strong $150 project might be a bedroom or hallway with two bulbs, a motion sensor, and a physical button. A smart speaker is optional; an automation should still be usable when someone does not want to speak or reach for a phone.
For a lighting-first plan, see our budget smart-lighting guide. If plugs are more useful, compare compatibility and energy monitoring in our smart-plug guide.
What not to buy at this tier
- A new hub before confirming that the chosen devices require it.
- Several bargain brands that each need a separate app.
- A camera without deciding how recordings will be stored.
- Controls for heaters, cooking appliances, or other loads that could be hazardous when started unattended.
A plug’s amperage label is not blanket permission to automate any appliance. The U.S. Consumer Product Safety Commission advises plugging portable electric space heaters directly into a wall outlet—not a power strip or extension cord. We do not include portable-heater automation in any budget tier.
The $300–$500 plan: build a small system
This tier can cover two or three rooms and introduce a shared controller or a small sensor network. Spend on infrastructure only when it supports devices you have already chosen.
Example allocation
| Item | Planning range |
|---|---|
| Controller or hub | $0–$200 |
| Four to eight bulbs, plugs, or switches | $80–$220 |
| Two to four motion/contact/leak sensors | $40–$140 |
| Physical buttons or remotes | $20–$80 |
| Mounts, batteries, and contingency | $30–$75 |
The wide hub range is intentional. Many Wi-Fi and Matter-over-Wi-Fi devices can use a controller you already own. Other designs need a Zigbee or Z-Wave coordinator, or a Thread border router. Local-first controllers can also add cost: for example, the official Home Assistant Green page listed a recommended U.S. MSRP of $199 when this guide was reviewed. Do not add that cost unless Home Assistant fits your maintenance tolerance and goals.
Matter can reduce ecosystem friction, but it does not guarantee that every feature appears in every platform. The Connectivity Standards Alliance describes Matter as an IP-based interoperability standard; check the exact model, supported device type, controller, and feature before purchase.
The $750–$1,000 plan: choose one expensive category
At this level, resist trying to buy a little of everything. Build the lighting and sensor foundation, then choose one category with higher hardware or installation costs.
Option A: security-focused
- One doorbell or two to four cameras
- Local storage hardware or a first year of cloud service
- Door/window sensors and a siren or monitored alarm component
- Lighting that supports arrival and away routines
Option B: climate-focused
- One compatible smart thermostat
- Professional installation if the wiring, equipment, lease, or local requirements call for it
- Temperature or occupancy sensors
- Leak detection near high-risk appliances
Option C: access-focused
- One smart lock or retrofit lock
- A compatible doorbell or entry camera
- Contact sensors and an entry light
- A physical key or other manual fallback
Security costs are especially sensitive to storage and subscriptions. One large vendor, Ring, currently lists plans that range from a single-device tier to multi-device and professional tiers. Prices and included features can change, so compare the three-year subscription cost—not only the camera’s sale price. Our security-camera guide separates local-storage and subscription choices.
The $1,500–$2,500 plan: coordinated multi-category DIY
A careful DIY system in this range can cover lighting, sensors, a few cameras, climate or access, and the controller/network foundation. It is not automatically “fully automated,” and it should not depend on dozens of complicated routines.
Example allocation
| Category | Planning range |
|---|---|
| Controller and protocol hardware | $100–$300 |
| Lighting and physical controls | $250–$600 |
| Sensors | $150–$400 |
| Cameras or doorbell | $200–$700 |
| Thermostat or lock | $150–$400 each |
| Network, storage, batteries, and contingency | $150–$500 |
The line items are ranges, not a shopping list. A home that needs no network upgrade can put that money into local storage or additional sensors. A renter may skip thermostats and hardwired switches and spend more on portable lighting, removable sensors, and a retrofit lock with written permission.
When a smart home exceeds $2,500
Budgets rise quickly when they include motorized shades across several windows, many hardwired switches, whole-home audio, multiple premium cameras, irrigation, water shutoff, energy management, complex alarm monitoring, or professional design and installation.
At this level, get written quotes that separate hardware, labor, programming, service plans, warranties, and future support. Ask what happens if the installer stops supporting the system, which functions remain local during an outage, and whether another qualified installer can service it.
A larger budget does not require smart appliances. Replacing a working refrigerator, oven, washer, or television solely to add app control is usually a poor first use of the budget. Fund network reliability, manual controls, leak detection, access, lighting, or climate improvements first when they solve a real problem.
Recurring costs that change the answer
Camera storage and monitoring
Cloud video history and professional monitoring may be monthly or annual. Some cameras support microSD cards, hubs, or network storage, but “local storage” is not one universal feature. Check whether local clips remain accessible without the internet, whether continuous recording is supported, how storage is encrypted, and whether important notifications require a plan.
Cloud access for local platforms
A local controller can run many automations without a vendor cloud, but convenient remote access, voice-assistant integration, backups, or support may still involve optional services or additional work. Price the setup you will actually maintain.
Batteries and replacement hardware
List every battery-powered sensor and its battery type. Budget for replacements and keep spares for locks, leak sensors, smoke/CO integrations, and frequently triggered motion sensors. Also reserve roughly 10 percent of the hardware total for mounts, adapters, storage cards, cable management, and mistakes.
Installation: do not use one national estimate
Labor varies by region, building, device, permit requirements, and the condition of the existing wiring or HVAC system. A single “$100–$400 per device” estimate is not reliable enough for planning.
Instead:
- Identify every task involving mains wiring, HVAC controls, plumbing, gas, exterior drilling, ladders, or door modification.
- Check the device instructions, lease, insurer requirements, local rules, and permit needs.
- Request an itemized local quote before purchasing hardware with a short return window.
- Keep labor separate from the device budget so two quotes are easy to compare.
Renter and homeowner budget tracks
Renter: spend on portable value
Prioritize bulbs, plugs, freestanding cameras, removable sensors, buttons, and portable hubs. Keep original hardware and obtain written permission before drilling, changing a lock, replacing a switch, or altering HVAC equipment. A $300 portable system you can take to the next home can be better value than a $1,000 installation you must leave behind.
Homeowner: fund infrastructure selectively
Homeowners can consider switches, thermostats, locks, network cabling, and water controls, but permanent does not always mean better. Test the platform and automations with reversible devices before repeating a hardwired design throughout the home.
How to spend without creating a fragmented system
- Reserve 10–20 percent. Keep money for batteries, mounts, adapters, and one failed assumption.
- Use one primary platform. Extra brand apps may be needed for setup, but household control should remain understandable.
- Buy one category at a time. Run it for a week before expanding.
- Keep manual control. A smart feature should not make an ordinary task harder.
- Calculate three years. Include subscriptions and batteries before comparing “cheap” and “premium” options.
- Buy for the problem. Ignore discounts on products that do not serve the written plan.
Sample totals
| Goal | Illustrative hardware total | Possible extras |
|---|---|---|
| Automated bedroom | $100–$180 | Optional speaker or hub |
| Portable two-room renter setup | $250–$450 | Batteries and removable mounts |
| Lighting plus two-camera security | $500–$900 | Storage or subscription |
| Lighting, sensors, thermostat, and doorbell | $900–$1,600 | Installation and subscription |
| Multi-category DIY house | $1,500–$2,500 | Network, storage, and professional tasks |
These totals deliberately exclude taxes and sales. They are useful for deciding the shape of a project, not predicting the checkout total for a specific product list.
Bottom line
Budget $100–$200 to learn with one useful room, $300–$500 for a coherent small system, $750–$1,000 for a solid foundation plus one expensive category, and $1,500–$2,500 for a coordinated multi-category DIY home. Spend beyond that only when the added rooms, permanent installations, premium hardware, or professional support solve needs you have already defined.
Next, use the beginner setup plan to choose a platform and installation order, then compare the relevant category guide rather than buying an all-in-one bundle.
Sources and editorial method
- Connectivity Standards Alliance: Matter overview
- Home Assistant: Home Assistant Green specifications and recommended MSRP
- Ring: current subscription plan structure and pricing
- U.S. CPSC: portable-heater safety guidance
Editorial note: The ranges are planning estimates compiled from current manufacturer pricing, published product requirements, and common DIY configurations; they are not claims of hands-on testing. Affiliate links may earn WesternTechy a commission at no extra cost to you. Confirm current prices, compatibility, subscription terms, and installation requirements before buying. Last reviewed September 2026.