
A leak sensor behind a washing machine is cheap compared with repairing a saturated floor, but it does not stop the water by itself. It has to be where water reaches its contacts, remain connected or audible, and alert someone who can act. A motorized main-water shutoff is a different project: it involves plumbing, power, failure modes and the needs of everyone who uses the building.
This Guide separates portable floor sensors, cable-type detectors and professionally installed water-monitoring valves. It gives renters and homeowners a practical setup and test plan without claiming that WesternTechy physically tested every product. Exact device features, cloud access, insurance terms, shutoff compatibility and local plumbing requirements must be checked for the model and property involved.
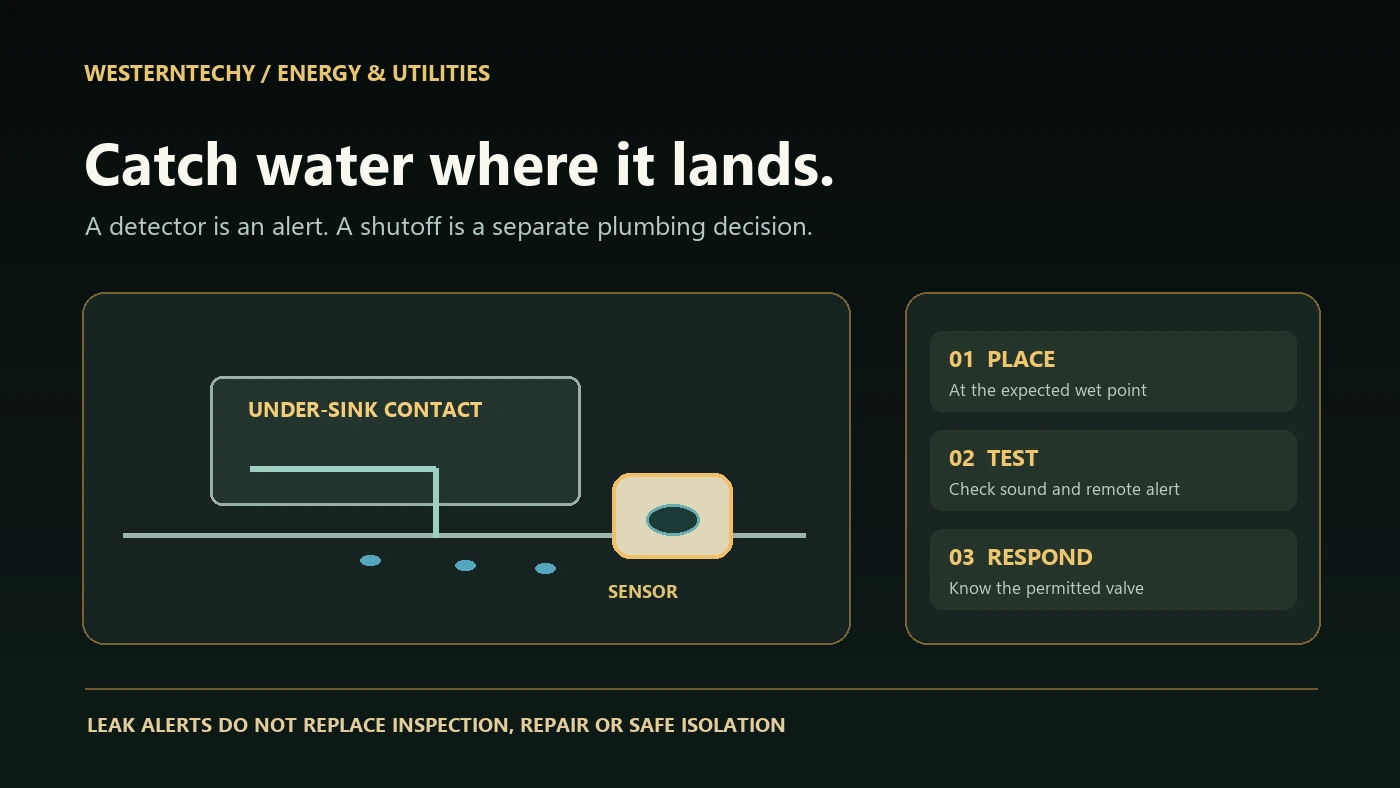
Start by mapping likely water paths
Walk around the home and identify supply lines, drain connections, condensate trays and low points where water is likely to collect. Look underneath sinks and behind appliances, but do not block drains, crowd a water heater’s required clearances, tamper with safety valves, or place electronics where prohibited. Existing stains, drips or swollen material mean investigate the source now; do not wait for a smart notification. The U.S. EPA’s moisture guidance advises prompt repair and drying water-damaged areas and items within 24–48 hours where possible.
| Potential location | What to inspect | Sensor placement consideration |
|---|---|---|
| Under kitchen or bathroom sink | Supply hoses, shutoff valves, trap and cabinet base. | Choose a low accessible point, not a shelf above the likely leak. |
| Washing machine | Inlet hoses, drain, tray and nearby low floor. | Keep the device away from moving equipment and service clearances. |
| Dishwasher or refrigerator | Supply line, filter and drain path. | Use a suitable probe/cable if the likely wet point is inaccessible. |
| Water heater or HVAC condensate area | Leaks, drain pan and permitted access. | Preserve clearances and use model-appropriate wet-location hardware. |
| Basement/utility room | Lowest collection points, sump area and floor drain. | One small point detector cannot watch an entire floor. |
| Renter’s unit | Accessible private-area appliances and owner-supplied equipment. | Use removable devices and secure permission for common systems. |
Place detectors where the anticipated leak would physically reach them, following the exact maker’s instructions and without creating a trip hazard. A detector on a high dry ledge may stay silent while water runs underneath the appliance. A cable-type accessory may extend coverage, but only for sensor products that explicitly support it. Document the intended path and periodically verify that a cleaning or appliance move has not displaced the detector.
Understand the three different water-protection layers
1. Point detector: a local wet/dry event
A floor sensor generally reports contact with water at its electrodes. For example, the Aqara Water Leak Sensor T1 FAQ says this Zigbee sensor needs a compatible hub and can alarm when water reaches approximately 0.5 mm. The published specification identifies model WL-S02D, Zigbee 3.0 and CR2032 power. That does not mean it is a standalone Wi-Fi flood alarm or that it senses hidden dampness through a floor.
2. Cable or probe detector: another form of contact coverage
Some systems provide a sensing cable to extend the wetted area. Resideo’s L1 Wi-Fi Water Leak and Freeze Detector has a compatible sensing cable and local audible and remote notification features, according to its product literature. Different brands implement cable length, replacement and extension differently. Do not attach an unapproved wire or assume a third-party cable is electrically compatible.
3. Flow monitoring and valve control: a plumbing installation
A water monitor at the main line may infer abnormal use from flow and pressure, then warn or operate a compatible valve. It is not the same as an electrode detecting water on the floor; it may not cover exterior drains, rain entry, roof leaks or a drain-only overflow. Moen describes its Flo unit as an inline main cold-water device and recommends a plumbing professional, because a section of the main pipe is removed for installation. Moen’s installation guidance states it must not be installed on fire-sprinkler/suppression piping or hot-water distribution. A landlord, strata/building manager or insurer may have further restrictions.
| Layer | Detects or changes | Key limitation | Typical installation |
|---|---|---|---|
| Point sensor | Water reaching its contact area. | Misses leaks elsewhere and cannot close the line alone. | Placed at the low expected wet point. |
| Cable sensor | Contact along a supported accessory cable. | Only the covered path; follow approved cable routing. | Placed around a permitted appliance zone. |
| Whole-line monitor/shutoff | Water-flow anomaly and compatible valve action. | Cannot cover every external or drain-only source; false shutoffs matter. | Professional main-line project with backup/manual plan. |
Check connectivity, alerts and ownership before purchase
Write down whether a detector uses an onboard siren, Wi-Fi, Zigbee, Z-Wave or another platform; whether it requires a hub; and what happens without internet, hub power or the owner’s phone. A model may have an audible local alarm while push notifications require cloud service, a working router or a configured account. Do not infer remote alert support from a water-drop icon or a Matter logo. The WesternTechy compatibility matrix helps distinguish radio compatibility from actual alert and automation capabilities.
For a renter, ask who should receive the first alert, what number to call if the unit is unoccupied, and whether the resident is permitted to touch a particular shutoff valve. In a multi-unit building, one valve may serve several apartments or an essential service. Do not operate unfamiliar communal plumbing to test an app. Keep property manager contact details separate from public or shareable sensor exports.
Set up one sensor properly, then expand
Start at the highest-risk accessible location. Confirm a supported hub or Wi-Fi connection and fresh battery, pair with the native app, update firmware where supported, and use an unambiguous device name such as “Kitchen sink—floor.” Confirm that the registered owner and appropriate secondary household contact see the right notifications. Put the detector where a leak actually collects, not beside a wet cleaning cloth or where an appliance crushes it.
- Inspect the area for existing moisture, damage and safe device clearance before placing electronics.
- Read the exact model’s installation and test directions. Record its hub, battery, radio path and app.
- Pair and label the detector while you can still reach it. Verify its current online status in the intended location.
- Test with the manufacturer-approved method, using a small controlled amount of clean water on the sensing surface where permitted. Do not pour water around wiring, appliances or building fabric.
- Verify local sound (when available), app event and a second recipient independently; distinguish a mobile push alert from a functioning local siren.
- Dry and reset the detector as instructed, and confirm the alarm clears rather than remaining hidden or permanently muted.
- Write the next test and battery-check date. Repeat after app, hub or router changes and whenever the appliance is moved.
A test notification from the app may not prove that the sensing contacts work, while a wet-contact beep may not prove that an absent household member gets a remote alert. Exercise the actual end-to-end detection path, using the maker-approved test method, without deliberately flooding an appliance or damaging the premises.
Design a response plan, not just a phone alert
A useful alert says which area needs attention, what was detected and who can respond. Avoid generic “device triggered” messages when there are several sensors. Choose a responsible resident and backup contact. Know which approved isolation valve serves the specific fixture. If there is active flooding, follow local emergency or building procedures, keep clear of energized electrical equipment and arrange professional help as necessary. Do not enter standing water near wiring or wet electrical devices to retrieve a sensor.
| Event | Useful first response | What not to assume |
|---|---|---|
| Local sensor alarm | Inspect the named safe area, isolate water through a known approved valve and contact the right person. | That cloud notification delivery succeeded. |
| Remote notification | Ask the responsible person to check safely and document the actual source. | That the alert alone proves a pipe has ruptured. |
| Main valve closes automatically | Check whether anyone needs water, inspect the event and follow the valve-maker’s recovery instructions. | That reopening is safe before the leak is resolved. |
| Detector reports offline/low battery | Restore coverage or use an alternate inspection routine. | That an offline unit protects the home. |
| Water has reached building materials | Stop the source, notify property owner and promptly dry/arrange professional remediation as appropriate. | That clearing an alert fixes moisture damage. |
Plan for normal water uses that may resemble a leak to a flow-monitoring system: filling a bath, irrigation or high-volume appliances. If there is an automatic valve, review the manufacturer’s learning, sensitivity, override, safe reset and emergency access procedures with the installer and occupants. Preserve a manual way to meet essential water needs under local rules. Never connect an automated shutoff to a fire-protection line, and do not let an AI routine invent valve operations without an approved system design.
Power outages, internet failures and notification delays
Write down which features depend on batteries, a hub, Wi-Fi, broadband, cloud, mains power and phone push permissions. A point detector with a local buzzer may still warn someone nearby during an internet interruption, but only if its battery and local sensing logic work. A remote alert can be delayed even if the sensor detects water immediately. A motorized valve’s behavior during power loss depends on the model and any maker-approved backup; do not assume fail-open or fail-closed from another brand.
For a holiday or an empty property, document a trusted responder, the permitted water isolation method and the procedure after a false or real alert. Verify the owner’s phone notification settings rather than assuming “online” in the sensor tile equals prompt delivery. Our network troubleshooting Guideaccess and privacy audit
Renter and homeowner paths
Renter: prefer a removable, compatible floor detector in an area you can access and monitor. Get property-manager permission for anything installed under fixed appliances, connected to the building network, wired into plumbing, or placed in a shared utility room. Ask in writing who should be contacted about an alarm and what to do if the approved valve is inaccessible. Keep the original space unaltered for move-out.
Homeowner: determine whether to start with point sensors at appliances or commission a main-line monitor and shutoff. Consult a qualified plumber for pipe sizing, valve position, power, pressure regulation, backflow needs and local code. An inline monitor should complement—not replace—inspection, roof/drain maintenance, pressure/pipe repairs and a plan for leaks outside the pressurized domestic line.
Landlord or property manager: assign who receives alerts, who may enter or isolate a supply, who maintains batteries and how handover works between tenancies. A unit-level detector must not be presented as protection for every neighboring unit. Record the actual responsible people and avoid exposing one tenant’s account or precise occupancy history to another. Use our device inventory and transfer tracker
Printable placement and acceptance record
| Record | Fill in privately |
|---|---|
| Room, likely leak source and approved low point | ____________________________ |
| Sensor model, firmware, battery and accessory cable | ____________________________ |
| Hub, network, app and owner contact | ____________________________ |
| Local siren and remote alert tested independently | ____________________________ |
| Last tested, next test and battery date | ____________________________ |
| Known fixture valve and permitted responder | ____________________________ |
| Automatic shutoff installer and manual procedure, if any | ____________________________ |
| Power/internet failure behavior and backup plan | ____________________________ |
| Permission, account transfer and move-out action | ____________________________ |
Do not put passwords, recovery codes, full serial numbers or precise private addresses into a shared record. If a real leak has damaged absorbent materials, fix the source and follow EPA moisture cleanup guidance and appropriate professional advice; dismissing an alarm or drying the detector is not equivalent to drying the building.
Official references and editorial method
- U.S. EPA: mold, moisture, leak repairs and drying.
- Aqara: Water Leak Sensor T1 hub requirement, detection threshold, placement and troubleshooting; model and radio specifications.
- Resideo: L1 Wi-Fi Water Leak and Freeze Detector with cable.
- Moen: Flo support and professional installation; inline location and prohibited fire-suppression/hot-water lines.
- U.S. FTC: account, router and connected-device security.
Editorial note (reviewed September 27, 2026): This Guide is based on public manufacturer and government documentation, not claimed physical tests, a plumbing design or an insurance guarantee. Water sensors help detect specific conditions but cannot prevent every leak. Check model-level instructions, professional and local requirements, owner permissions, emergency procedures and the actual alert path before relying on any installation.