
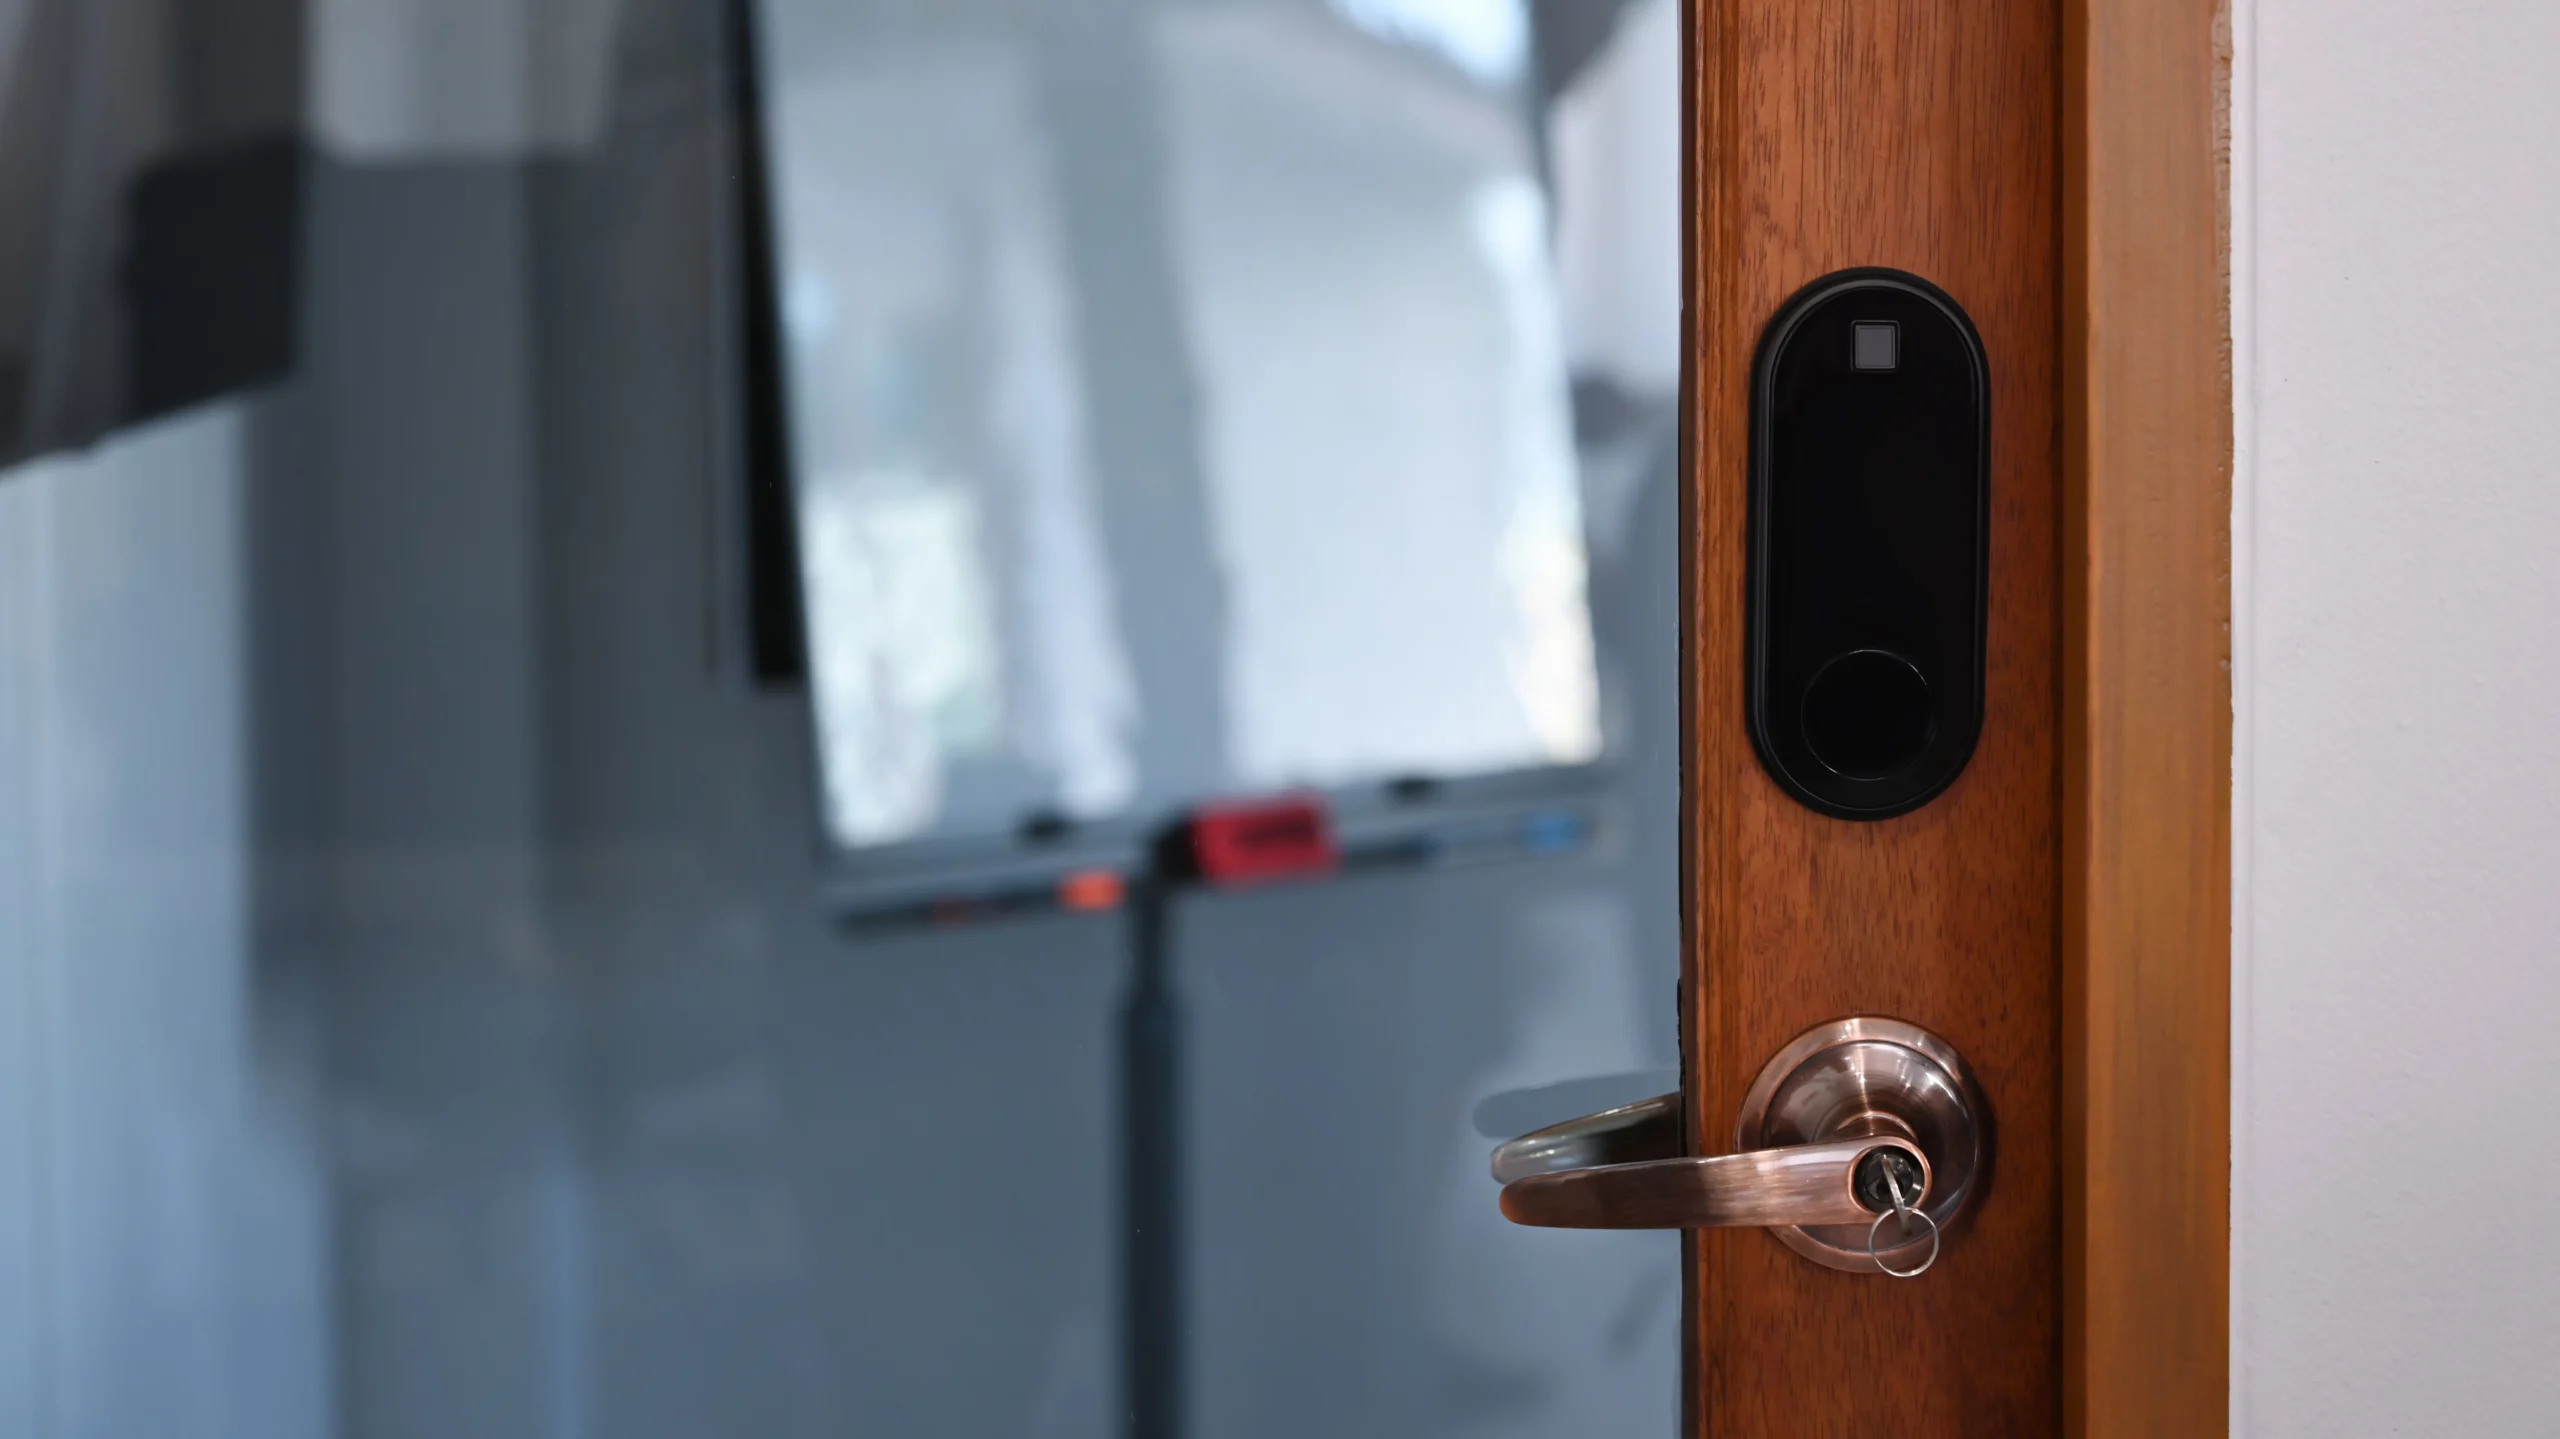
A safe smart lock installation can remove a daily annoyance, but it also combines door hardware, electronics, and account security. A reliable installation starts before you touch a screwdriver: confirm that the lock fits the door, decide whether you are allowed to change the hardware, and plan how you will get in if the batteries, app, or internet connection fail.
This guide covers both retrofit locks—which keep the exterior portion of an existing deadbolt—and full-replacement smart deadbolts. It is research-based guidance, not a claim that every lock or door has been personally tested. The exact manual for your model always controls.
Quick decision: retrofit, replace, or call a professional?
| Choose | When it makes sense | Important limits |
|---|---|---|
| Retrofit lock | You want to keep the exterior key cylinder and change only the interior thumbturn. | It must match your existing deadbolt and tailpiece. “No visible exterior change” does not override a lease or building rule. |
| Full-replacement smart deadbolt | You have permission to replace the deadbolt and want a keypad, fingerprint reader, or new exterior hardware. | Door preparation, thickness, backset, bore holes, and strike alignment must match the model. |
| Locksmith or qualified installer | The door has a mortise, interconnected, double-cylinder, or multipoint lock; the deadbolt binds; holes need modification; or the door is part of a fire-rated assembly. | Do not drill, file, or alter unfamiliar hardware just to make a consumer smart lock fit. |
If you are still designing the rest of your system, start with our beginner smart-home plan. For a realistic allowance for locks, hubs, batteries, and installation, see our smart-home cost guide.
Renters: get written permission first
A retrofit lock may be reversible, but it is still a change to entry hardware. Check the lease, building rules, insurance requirements, and local law, then get the owner or property manager’s approval in writing. Ask whether management must retain a key or approved emergency-access method. Never disable a required egress function, and do not install a lock that needs a key to exit unless the door and local rules specifically permit it.
Photograph the original hardware before removal. Label and store every screw, adapter, plate, and original part in one container. If permission requires restoration at move-out, those parts are what make a clean reversal possible.
Compatibility checks before you buy
1. Identify the lock type
Most consumer smart deadbolts are designed for a standard single-cylinder deadbolt: a keyed cylinder outside and a thumbturn inside. A retrofit model usually replaces only that interior thumbturn. Mortise locks, interconnected handlesets, double-cylinder deadbolts, rim locks, and multipoint doors often require a purpose-built product or professional advice.
2. Measure the door and holes
Use the manufacturer’s compatibility template and measure rather than guessing. Common checks include:
- Door thickness: compare the actual thickness with the supported range.
- Backset: measure from the door edge to the center of the bore hole. Many residential latches adjust between common sizes, but not every lock supports every door.
- Bore and edge-hole diameter: a full replacement must match the existing preparation unless you have permission and the skill to modify it.
- Clearance: make sure the interior housing will not hit trim, glass, a storm door, or an adjacent handle.
- Handing: some models detect handing during calibration; others require a setting or physical orientation.
3. Test the existing deadbolt by hand
With the door open, extend and retract the bolt several times. Then close the door and repeat. It should move smoothly without lifting, pushing, or pulling the door. If it works open but binds when closed, the problem is usually door or strike alignment—not an app or radio problem. A smart motor should not be expected to overcome a poorly aligned door.
4. Check power, connectivity, and fallback access
Confirm the specified battery type, expected low-battery warning, and emergency-power or mechanical-key options. Also check whether remote access needs a separate bridge, hub, compatible smart-home controller, or paid service. Bluetooth, Wi-Fi, Thread, and Z-Wave describe different connection paths; none by itself guarantees better battery life or reliability in every home.
5. Look beyond the app-store rating
For physical hardware, check whether the product appears in the Builders Hardware Manufacturers Association certified-products information and review the relevant performance claims. BHMA grades address tested aspects of security, durability, and finish, but a grade is not a promise that the complete door, frame, installation, or account is secure.
Tools and preparation
The exact list comes from the lock manual. A typical installation needs a Phillips screwdriver, a tape measure, fresh manufacturer-approved batteries, painter’s tape, and a small container for screws. Avoid a power driver unless the instructions explicitly allow it; overtightening can distort the mounting plate or make the deadbolt bind.
Before starting, keep the door open and arrange another way into the home. Charge your phone, note the model and support page, and read the entire installation sequence once. If the lock uses an app, create the account through the official app-store listing linked by the manufacturer—not a QR code from an unknown source.
How to install a retrofit smart lock
- Keep the door open. Confirm again that the existing bolt moves freely by hand.
- Document the original setup. Photograph the interior thumbturn, screw positions, and the way the tailpiece sits.
- Support the exterior cylinder. On many deadbolts, the interior screws also hold the exterior half in place. Use painter’s tape or a second person so it does not fall.
- Remove only the parts named in the manual. Usually this means the interior thumbturn, not the exterior key cylinder or latch.
- Select the correct adapter. Match the adapter to the tailpiece shape exactly. Do not force a near-fit.
- Attach the mounting plate evenly. Keep it level and tighten each side gradually. Stop if the bolt becomes harder to turn.
- Mount the smart-lock body. Confirm that it seats fully and that no cable or moving part is pinched.
- Insert the specified batteries. Do not mix old and new cells or different battery types unless the manufacturer explicitly permits it.
- Run the model’s calibration or handing process. Follow the instructions exactly, with the door in the required position.
- Test before trusting it. Cycle the lock repeatedly with the door open, then test it closed. Verify the key, thumbturn, keypad, app, and any emergency-access method that applies.
How to install a full-replacement smart deadbolt
- Verify every measurement and obtain permission. A similar-looking replacement can still have an incompatible backset, bore, thickness range, or trim clearance.
- Remove the old deadbolt carefully. Keep the door open and support both sides of the hardware. Store the original assembly and screws.
- Install the new latch in the correct orientation. The bolt should extend and retract freely before the keypad or interior housing is attached.
- Position the exterior assembly. Route any cable exactly as shown in the manual so it cannot be pinched by the mounting plate or tailpiece.
- Attach the interior plate and housing. Tighten screws evenly by hand. Recheck bolt movement before adding power.
- Install batteries and calibrate. Use the door-open position and sequence specified for the model.
- Test all entry and exit methods. Only after successful open-door tests should you test with the door closed.
If the strike is misaligned, first check for loose hinge screws, seasonal swelling, door sag, weatherstripping pressure, or a shifted strike. Do not file a strike plate or enlarge a door hole without permission and the right competence. A locksmith or door professional can distinguish a minor adjustment from a fire, security, or structural problem.
Secure the account and access codes
The lock is only one part of the system. The Cybersecurity and Infrastructure Security Agency recommends core practices such as strong passwords, multifactor authentication, software updates, and phishing awareness. Apply those basics to the lock account:
- Use a unique password stored in a reputable password manager.
- Enable multifactor authentication when the manufacturer offers it.
- Give household members individual accounts or codes instead of sharing the owner password.
- Use temporary or scheduled codes for guests and workers, then remove them when no longer needed.
- Install lock firmware and app updates from official sources.
- Review the access list after a move, breakup, staff change, or lost phone.
For current guidance, see CISA’s cybersecurity best practices.
Plan for batteries, outages, and lost phones
Enable low-battery notifications and replace batteries according to the manual. Keep the physical key outside the locked home in a secure, authorized place if the model uses one. If the lock is key-free, learn its emergency-power procedure before you need it. A trusted second entry method matters because remote control may depend on a phone, account service, hub, router, internet connection, or several of them.
Do not assume that “smart” means remote unlock will always work. Local keypad or key operation may continue during an internet outage, while app-based remote access may not. Test the exact behavior of your system and document it for other household members.
Troubleshooting without damaging the door
| Symptom | What to check first |
|---|---|
| Works with the door open but not closed | Door sag, strike alignment, weatherstripping pressure, or a bolt rubbing the frame. Do not make the motor fight resistance. |
| Calibration fails | Correct adapter, tailpiece position, lock handing, mounting-plate alignment, battery orientation, and the manufacturer’s required door position. |
| Interior turn is stiff after mounting | Loosen and retighten the mounting screws evenly; confirm that the plate is not crooked or overtightened. |
| Pairing or remote access fails | Use the exact app, hub, radio, account, and network requirements in the support article for that model. Do not split Wi-Fi bands or change router security settings unless the manufacturer specifically requires it. |
| Battery drains unexpectedly | Check for repeated motor retries caused by binding, weak signal conditions, unsupported batteries, extreme temperatures, and firmware updates. Contact the manufacturer if drain continues. |
Move-out restoration checklist for renters
- Remove guest codes and unlink the lock from personal accounts.
- Factory-reset the smart lock according to its official instructions.
- Reinstall the original hardware using your photographs and labeled parts.
- Confirm that the deadbolt locks and unlocks smoothly from both sides.
- Return required keys and document the restored condition.
- Follow the written agreement with the owner or property manager.
Final safety check
Before calling the project complete, verify smooth manual operation, secure mounting, safe egress, working fallback access, account protection, and the owner’s approval where required. If the door must be forced, the instructions do not match the hardware, or an alteration seems necessary, stop. A short professional visit is cheaper than a damaged door, an unreliable lock, or a lockout.
Official references
- Schlage: product support, installation, and programming resources
- Yale Home Support and Yale Home product information
- Builders Hardware Manufacturers Association: standards and certified products
- CISA cybersecurity best practices
Editorial note: This guide is based on manufacturer and standards-body documentation. It does not claim hands-on testing of every lock or compatibility with every door. Product manuals, lease terms, building requirements, and applicable law take precedence.