
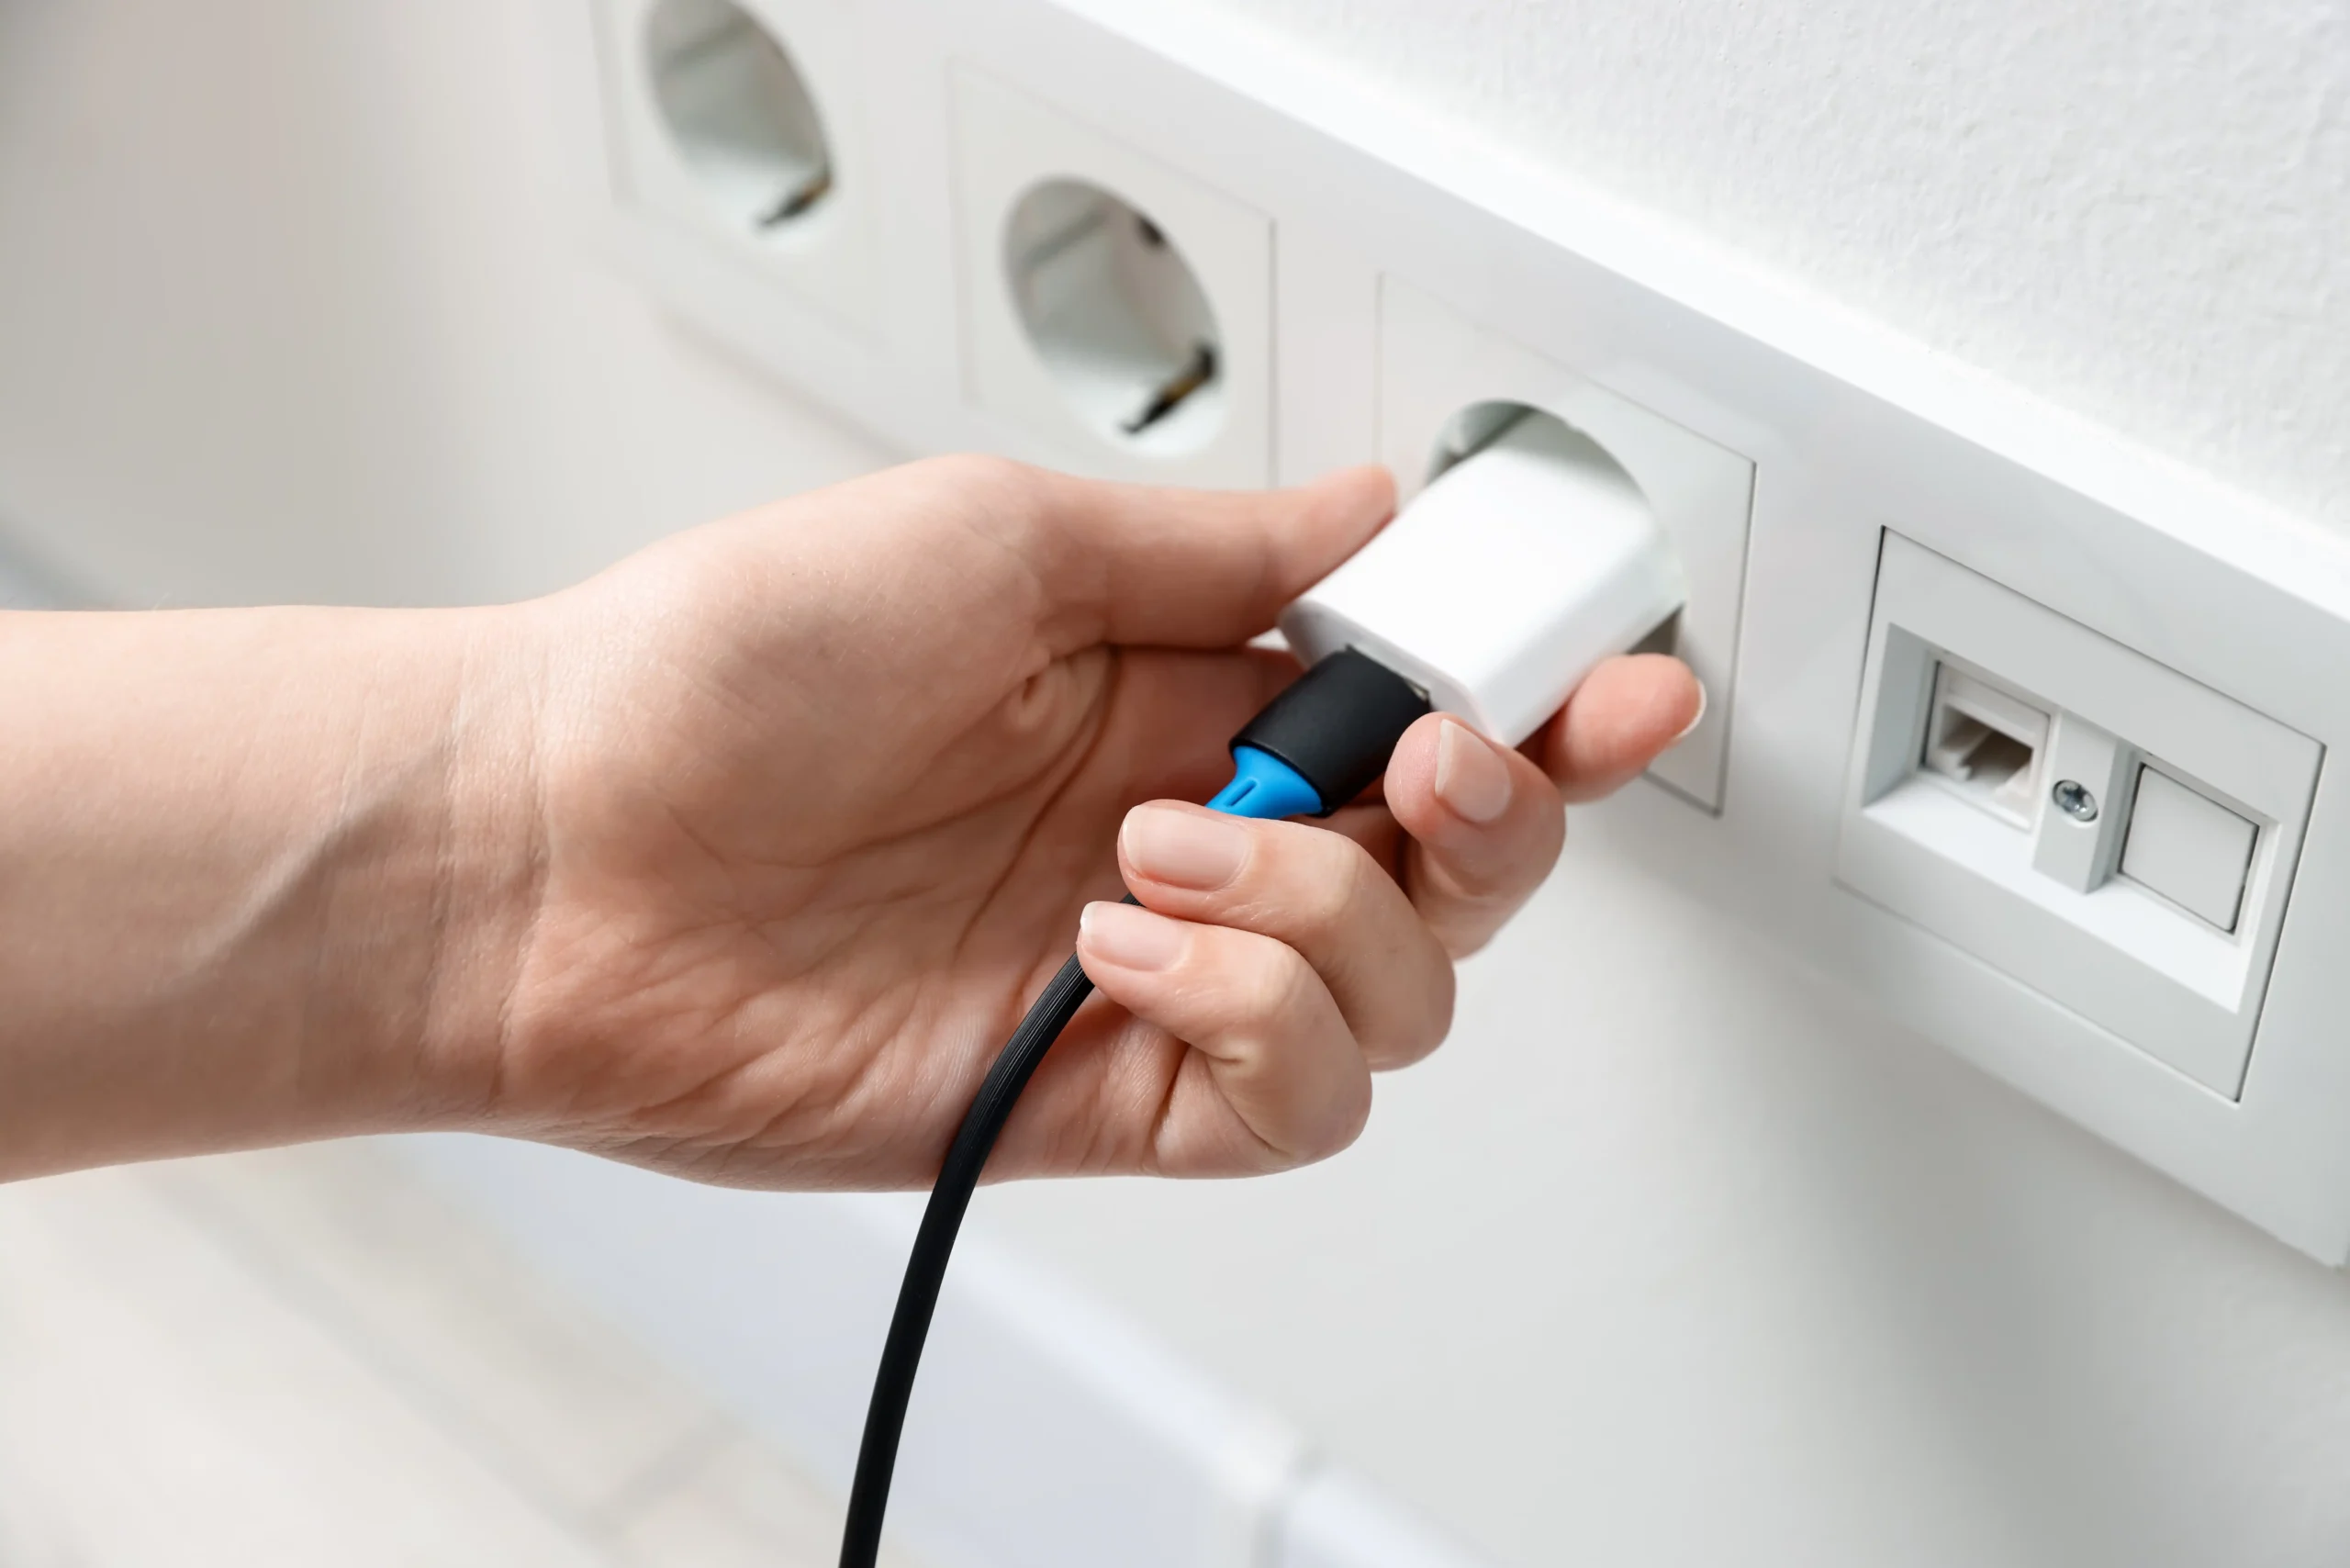
A smart plug is a convenient way to switch a compatible ordinary lamp from an app, schedule it at sunset, or trigger it from a supported door sensor. It is not a universal appliance controller. The most useful first automation is usually small: one light, one understandable rule, and a manual way to recover when an app, router or schedule behaves unexpectedly.
Quick answer: Check the exact plug and connected appliance instructions; start with an approved low-risk lamp; choose a fixed schedule, a countdown or a sensor-triggered routine according to the job; verify that the trigger and plug are exposed to the same supported platform; then test ordinary operation, power restoration and connectivity loss. Do not automate portable heaters, refrigerators, washers, air conditioners, pumps or critical equipment with a generic plug on the strength of a 15A label.
Editorial method: This is a documentation-based setup guide for renters and homeowners, not a hands-on comparison or an assurance that a named brand works in every region, firmware generation and controller. Follow your exact product and appliance instructions and the property’s permissions.
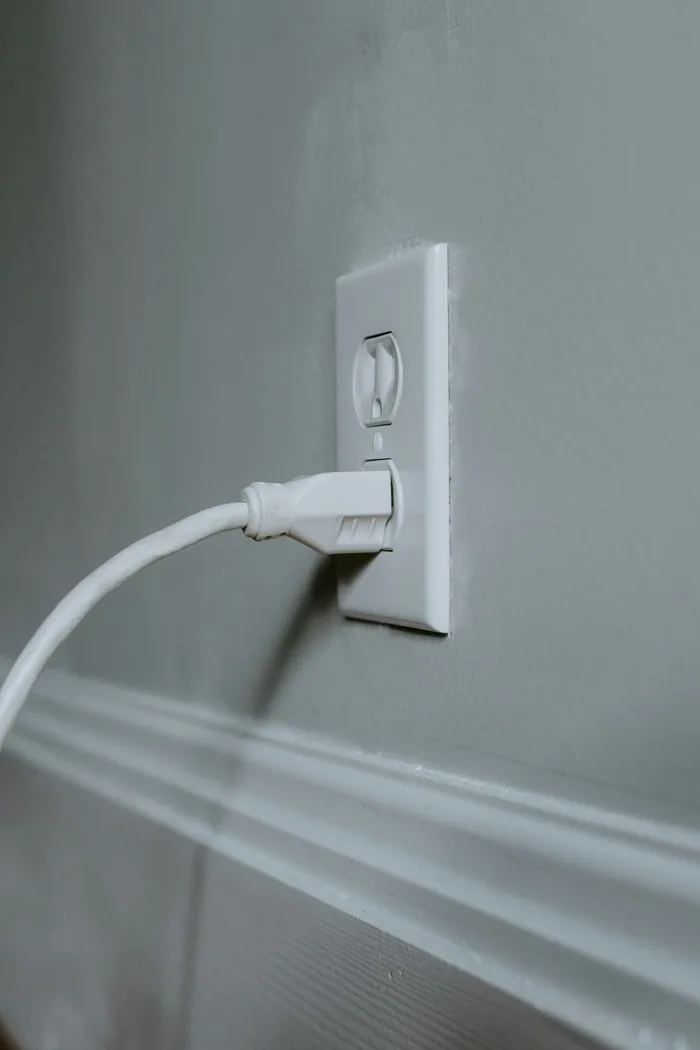
What a smart plug actually does
A standard switching plug adds a remotely controlled mains relay between the wall outlet and a compatible appliance. It can typically turn power on or off and may support timers or schedules. A model specifically equipped with energy monitoring may report current watts and accumulated energy, but not every plug measures energy. A standard plug does not turn an ordinary bulb into a dimmable bulb; for controlled brightness, use a compatible smart bulb or dedicated dimmer rather than cutting mains power rapidly.
When choosing a plug, verify its intended regional voltage and socket, total supported load and load type, indoor/outdoor rating, power-recovery options, supported app and network, and whether any energy monitoring or auto-off feature is present in your exact hardware version. A generic product name or ecosystem logo does not resolve these questions.
Safety comes before the automation
A high amp label is not blanket appliance approval. TP-Link’s June 2026 load-compatibility bulletin notes that motor-driven appliances may draw a substantial startup current and that permitted load types differ by model and region. Check both the plug’s quick-start guide and the appliance’s instructions; do not assume a 15A/1800W label or an ordinary running-watt reading establishes startup-load compatibility.
The U.S. CPSC recommends connecting portable space heaters directly to wall outlets and switching them off while sleeping. Do not remotely start an unattended heat-producing appliance with a general-purpose smart plug, even if a regional plug maker publishes a resistive-load rating. A published resistance-load rating and a safe unattended-heater use case are not the same decision.
| Application | Practical decision | Why it matters |
|---|---|---|
| Ordinary table lamp with a physical on/off switch | A first candidate after checking both devices’ ratings and instructions. | Low-complexity load and an understandable manual fallback. |
| Smart bulb in a lamp | Prefer controlling the bulb through its supported app/controller, leaving its supply powered. | Cutting its power can make it unreachable and prevent routines. |
| Space heater, iron, kettle or other high-heat source | Do not build a remote or unattended start routine with a generic plug. | Heat, supervision and manufacturer-use limitations are separate from headline wattage. |
| Refrigerator, freezer, AC, washer or pump | Use native controls or equipment-specific approved systems; do not use an unsupported general-purpose plug. | Motor/compressor startup, essential operation and unexpected power loss. |
| Router, alarm, medical or essential equipment | Do not insert an uncontrolled relay as a single failure point. | Loss of power can disable services relied on by other systems. |
| Outdoor fixture or damp area | Use a specifically rated product and mounting arrangement only. | Indoor-rated devices and exposed outlet arrangements are unsuitable outdoors. |
| Power strip or chain of adapters | Avoid stacking or daisy chaining; follow exact manufacturer restrictions. | Combined loading can become unclear and hidden overloads are possible. |
TP-Link’s smart-plug FAQ discourages connecting power strips or extension arrangements to its plugs; check the current instructions for your specific product. If a plug or outlet becomes abnormally hot, smells unusual or shows damaged contacts, disconnect it safely and arrange appropriate inspection. Do not bypass an overloaded circuit or use a software schedule as overcurrent protection.
Schedule, countdown, auto-off and sensor routine: choose the right control
| Control type | Trigger | Useful first example | Important limitation |
|---|---|---|---|
| Recurring schedule | Clock time, sometimes sunset or sunrise. | Turn an approved entry lamp on near sunset and off later. | Needs a correct device clock and time zone; may not account for occupancy. |
| One-time countdown timer | Set duration after manual or app action. | Turn a compatible lamp off after reading. | May cancel or be replaced after device state changes. |
| Auto-off after each switch-on | The plug turns on; a supported device feature counts down. | Limit an approved decorative lamp’s on-time. | Feature and configuration vary by exact model and firmware. |
| Sensor-triggered routine | Supported door/contact or motion event. | Illuminate a low-risk entry lamp when a door opens. | Needs event exposure, supported action, connectivity and a sensible off rule. |
| Away/randomized mode | Randomized on/off within a time window. | Vary a compatible lamp while away. | Not a security system; inappropriate for sensitive loads. |
TP-Link documents the distinct Kasa schedule, countdown and Away Mode features and Tapo variants and auto-off limits. Read your model’s current app screen instead of assuming that the same brand exposes every choice on all products.
Build a first schedule for a compatible lamp
1. Prepare the lamp and plug
Confirm the lamp is an approved load, test normal operation from the lamp’s own switch, and place the plug where it has suitable airflow and is not concealed behind a heavy object. Connect it through the manufacturer’s current setup instructions. Give it a clear name such as “Entry lamp.” Verify whether your plug requires 2.4GHz Wi-Fi, a hub, Matter, or another supported connection for your exact SKU.
2. Set the device’s location and time zone
Open the native app and check its local time. Sunset and sunrise schedules depend on the region and location; TP-Link’s Kasa time-sync guidance explains how an incorrect time setting affects automation. A new phone’s travel time zone and the plug’s configured time zone are not necessarily the same thing.
3. Create one on event and one off event
Within the device’s Schedule section, use a supported clock or sunset trigger and set the repeat days. Create a clear end time as a separate off event, save both and make sure any Away Mode or timer is not in conflict. TP-Link’s schedule FAQ documents feature priority and notes different behavior between Kasa and Tapo across midnight. A “turn on” rule without a corresponding off rule is not a complete lighting plan.
4. Test the actual device, not just the app confirmation
Manually turn the lamp on and off, observe the next scheduled event, and test what happens if the physical lamp switch is off. Note what state the plug returns to after a power restoration in a safe test. Do not repeat power interruption on sensitive equipment. If the routine operates an entry or stair lamp, keep normal manual lighting available regardless of app status.
What keeps running if internet or electricity fails?
Do not group every automation under the claim that it “works offline.” TP-Link’s September 2026 Kasa FAQ states that supported on-device timers and schedules continue during an internet outage once configured. However, its multi-device Smart Actions instructions say those automations need internet connectivity. Voice-assistant or cloud-to-cloud control can also fail while the internet is unavailable.
Power loss is a different event from internet loss: the plug stops supplying power, and after restoration its on/off behavior and clock recovery depend on its model and settings. TP-Link’s schedule FAQ says some devices need to reconnect to resynchronize their time after a power outage. Treat a missing scheduled event after an outage as something to investigate rather than assuming it has been queued for later execution.
| Interruption | Possible result | What to check |
|---|---|---|
| Internet outage, plug still powered | Supported on-device timer/schedule may continue, while cloud or multi-device routines may fail. | Product FAQ, actual local-control capability and internet dependency. |
| Router or hub outage | Network-based commands or sensor integrations may be unavailable. | Which devices depend on that controller; manual lighting fallback. |
| Mains power outage | Plug and load turn off, then may restore to a model-specific state. | Power-on behavior, clock synchronization, safely testable recovery. |
| Manual switch/action | May change the state or cancel a countdown; recurring schedules may remain. | Native app’s timer and rule priorities for your exact model. |
| Changed time zone or daylight-saving rule | Events may occur at unexpected local times. | Configured time zone, location, sunset offset and next scheduled time. |
For a new installation, test a low-risk lamp under normal conditions before depending on automation. “Local control” also does not mean a model is guaranteed to operate forever after power loss without a correct clock or functioning hub. Maintain the ability to switch the light on by an ordinary method.
Use a contact sensor to trigger a lamp without confusing open with occupied
A contact sensor usually reports whether its magnet and main unit are aligned. It does not determine whether somebody has entered, remained in or left a room. A door-open event may start a lamp routine, but the door closing is not proof that the room is empty. In a pantry or cabinet, the open/closed state can be a sufficient reason to control an approved light; in a hallway, use a separate delay or other reliable control to turn it off.
Compatibility is a whole chain: exact sensor protocol, bridge/Thread border router if required, platform exposure of the contact state, compatible smart plug and the platform’s supported automation actions. Aqara’s Matter-over-Thread P2 documentation specifies a compatible Thread border router and Matter controller; a generic Wi-Fi smart plug does not provide those functions. Another Zigbee sensor may require an appropriate Zigbee hub instead. Verify supported trigger events, not just that the sensor shows up in the app.
Example: a pantry-door light
After confirming that the chosen contact sensor reports open/closed events and the platform can control the approved lamp: create an “open → on” action, and a separate “closed → off after a suitable delay” action where supported. Avoid a rule that activates a heater, kettle or other unsuitable appliance. Test opening and closing repeatedly, after a hub restart, and when somebody leaves the door ajar. A reasonable maximum-on timer is useful if it is supported and safe for the lighting load.
Example: an entry lamp in Alexa
Amazon’s Alexa routine instructions describe More → Routines → add an event → add an action → Save. If the contact sensor appears as a supported smart-home event for your specific combination, select its open event and make the action switch on the approved entry lamp. Add an off routine or supported delay as a separate, observable step. Amazon’s contact-sensor integration description explains why some connected sensors can trigger routines through compatible integrations; merely displaying a device icon is not proof that it provides proactive trigger updates.
Limit the trigger to an appropriate evening window if desired. Opening the front door should not silently energize an unrelated load or create a surprise at night. A contact sensor is not by itself a monitored home-security system, and a decorative lamp is not a replacement for legally required exterior or emergency lighting.
Energy monitoring is a measurement feature, not automatically an automation trigger
An energy-monitoring smart plug can report approximate current power (W) and accumulated consumption (kWh), depending on the model. That does not guarantee its native app exposes a “power dropped below a chosen threshold” trigger, pushes an alert, or forwards live telemetry to every Alexa, Apple Home, Matter or Google Home installation. Check the exact hardware version, firmware, native app and receiving platform.
For example, TP-Link’s KP125M V1 firmware notes added Matter 1.3 energy tracking in August 2026 but explicitly warn that not all Matter-enabled apps fully implement the functionality. Do not infer that a different model, regional variant or an older firmware has the same behavior. If an automated threshold alert is essential, verify that the particular controller exposes a real measurement entity and supports the intended trigger.
A washer “cycle finished” alert is sometimes proposed as a power-drop automation, but a washing machine is a motor-driven load with startup current and is not an appropriate generic smart-plug recommendation. Prefer the washer’s own status notifications or an approved non-interrupting monitoring method. Similarly, a 0W plug reading cannot prove a freezer is safe, its contents are cold, or its power circuit has tripped. Use purpose-built temperature monitoring for that job rather than cutting power to refrigeration.
For a low-risk, approved device, record kWh over a representative interval and apply your actual applicable rate; the app’s cost graph is an estimate, not your entire bill. See our safe smart-home energy-measurement Guide and editable budget calculator for the measurement method and real local input costs.
Buying checklist instead of a speculative “best plug” table
Choose by the use case and exact regional model. General product-family names can cover different socket standards, load ratings and hardware features. If the budget article quotes a sale price, verify the live retailer offer and date; this Guide deliberately avoids fixed prices and affiliate rankings. Before ordering, record:
- Load compatibility: precise appliance type, normal and startup characteristics, and explicit approval in both manufacturers’ documentation.
- Supply: outlet type, local voltage, plug dimensions and whether it blocks a neighboring socket.
- Automation feature: recurring schedule, countdown, on-device auto-off or sensor event as required; check model/firmware support.
- Ecosystem: native app, supported third-party platform and, if needed, Matter controller, Thread border router or Zigbee hub.
- Network and recovery: supported Wi-Fi band or radio, power-on state, and what still works after an outage.
- Monitoring: whether kWh data exists, how much history is retained, and which app exposes it.
- Installation environment: indoor/outdoor and moisture rating, placement and manual fallback.
- Lifecycle: account owner, update support, restoration and handover permissions.
Troubleshooting when the routine behaves unexpectedly
| Symptom | First check | Next safe step |
|---|---|---|
| Scheduled lamp runs at the wrong time | Device time zone, location and any sunset offset. | Use the maker’s time-sync procedure; check next event. |
| Timer ended early | Manual/app change or another rule’s priority. | Inspect schedule/timer/away interactions in the native app. |
| Plug offline | Power to outlet, supported network/radio, hub and router status. | Restore the documented connection path; do not randomly reset other devices. |
| Door opening does nothing | Does the chosen platform expose the sensor’s contact event and plug action? | Recheck hub/integration and test each component separately. |
| Lamp remains on after closing door | Off action, delay and whether the rule expects an actual closed event. | Correct the off logic; maintain the manual switch. |
| After a power cut, state is unexpected | Model’s power-recovery setting and clock sync. | Use the official setup/recovery method with a low-risk lamp. |
| Reported energy appears wrong | Unit, measurement interval, firmware and supported app. | Repeat with an approved load and avoid unverified savings claims. |
TP-Link’s time synchronization instructions and schedule FAQ are useful starting points for supported Kasa/Tapo models. Manufacturer behavior can change after firmware updates; capture the model, hardware version and error details before requesting support.
Renter-friendly ownership and move-out checks
Do not modify fixed wiring or an outlet to make an automation fit. A properly approved plug-in lamp is often a reversible starting point. Keep the original lamp switch usable, confirm who owns the plug and app account, and do not leave your personal account linked to the next occupant’s devices. If the plug stays, coordinate an authorized reset and account transfer; if it goes with you, remove shared access and restore the room’s ordinary lighting arrangement.
Use the Device Inventory & Account Transfer Tracker to record the product, location, owner, supported app, subscriptions and handover state separately. Do not put Wi-Fi passwords, PINs or recovery codes in a shared worksheet.
Printable first-routine worksheet
| Question | Your answer |
|---|---|
| What is the exact lamp/appliance and desired outcome? | ________________________ |
| Is the load approved by both manufacturers? | Yes / No / Unverified |
| Plug model/hardware version and regional rating | ________________________ |
| Timer, schedule, auto-off or sensor routine? | ________________________ |
| Supported app, hub/controller and trigger? | ________________________ |
| On event, off event and manual override | ________________________ |
| Expected offline and power-return behavior | ________________________ |
| Test date, actual outcome and unresolved issue | ________________________ |
Primary documentation and limits
- TP-Link: supported Tapo/Kasa loads and startup-current cautions; plug/power-strip FAQ.
- U.S. CPSC: portable heater safety.
- Kasa schedule, timer and Away Mode; Tapo schedule and model-specific auto-off; Kasa functionality and offline FAQ.
- Aqara P2: contact sensor / Matter over Thread dependencies; Amazon: creating Alexa routines.
- KP125M V1 firmware release notes and Matter energy-monitoring limits.
Editorial note (reviewed September 26, 2026): This is a researched practical method, not first-hand interoperability testing or a product performance ranking. Plug specifications, firmware, ecosystem behavior and regional electrical requirements change. Consult the exact manuals and preserve human control for any critical function.