Home equipment rentals can be exciting–right up until move-out day arrives! Restoring your rental to its pre-install condition is key to receiving your full deposit refund and maintaining positive landlord relations. This renter-first guide walks through a proven, evidence-based process used by smart device renters.
What You Will Need
- Original mounting strips (Command, 3M or Tesa) or wall-safe replacements will be needed.
- Rubbing alcohol and microfiber cloth.
- Screwdriver or small pry tool (for stands only; do not use on walls)
- Smartphone (for timestamped photo evidence).
- Checklist available below can be easily downloaded for use.
Step 1: Gather Pre-Removal Photographs
Before uninstalling any smart devices (bulb, camera or sensor), consider these points:
- Launch your phone’s camera app and enable timestamp.
- Capture wide shots of each room as well as close-ups of every smart device’s placement in each.
- Keep these records in a folder labeled, “Move-Out [Date].”
Tip: Use a notecard or newspaper as date proof in your photos for added date authenticity.
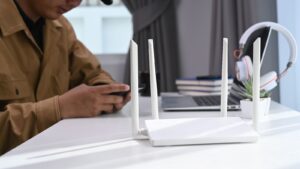
Step 2: Shut Down and Unplug All Devices
Before disconnecting or unplugging any smart devices for removal:
- Unpair bulbs from apps (Hue, Alexa etc.).
- Disable battery-powered sensors.
- Unplug smart plugs and hubs and take a “power down” photo showing LEDs off.
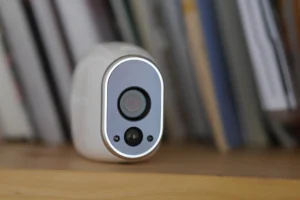
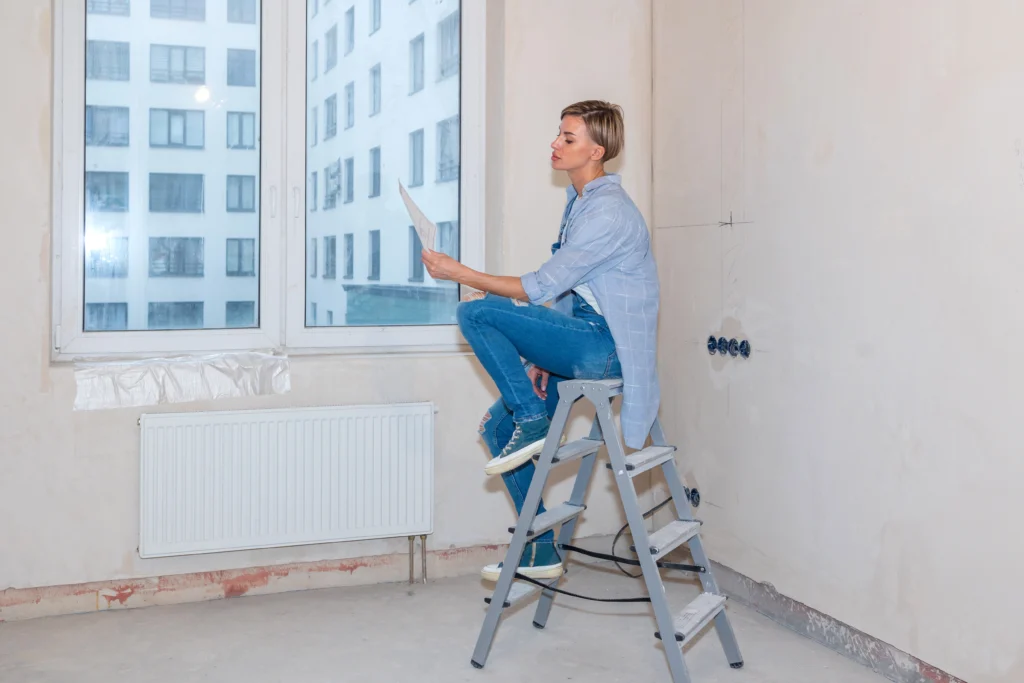
Step 3: Carefully Uninstall Adhesive Devices
Motion sensors, cameras or hubs mounted with strips:
- Hold the device with one hand.
- Gently pull down on the adhesive tab while stretching it – never out!
- If resistance arises, use a hairdryer at low heat for 10-15 seconds to warm the strip and break through it.
- Use rubbing alcohol to safely eliminate any residue.
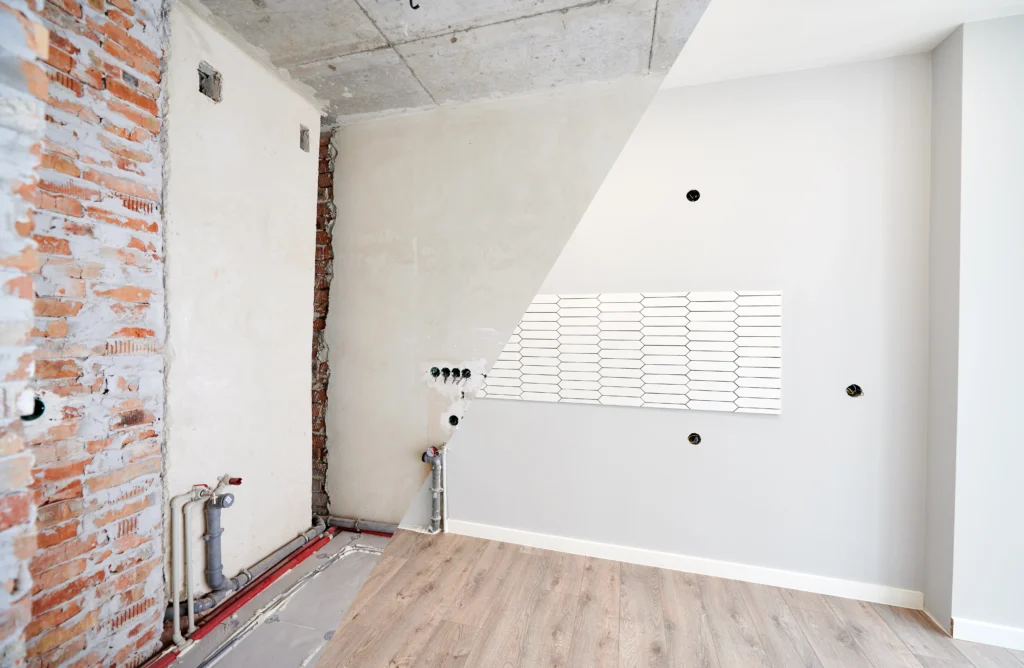
Photo Pair Suggestion: Before Removal Vs Clean Wall.
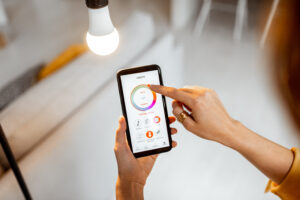
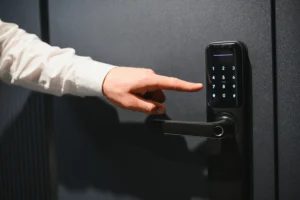
Step 4: Restoring Original Fixtures
If you have upgraded bulbs, locks, or faceplates:
- Reinstall the original fixture (be sure to label it for easier tenancy).
- Check that lights and switches work normally.
- Pack smart gear securely so that it can be reused later.
Photo Suggestion: View “Before Install” and “After Reinstall” images side-by-side for an eye-opening comparison.
Step 5: Complete the Deposit Safety Checklist.
Use this downloadable checklist to keep an audit trail of your return process:
- Add dates and timestamps to photos
- Removed all adhesives (no residue).
- Reinstall original bulbs/switches
- Test lights/sensors functionality
- Clean all device areas and upload before/after evidence folder to cloud storage
Download: Return-to-Preinstall Checklist (Google Doc).
Step 6: Notify Your Landlord (Optional).
Send an email with your evidence summary:
“Hi [Landlord Name], I just wanted to make sure the apartment has been returned in its original state and photos are available if you would like a look.”
Attach your checklist along with several representative before/after photos for greater transparency.
Step 7: Keep Evidence for 30 days
Keep all photos and checklist copies for at least one month post-move-out; in case any issues with deposits arise, these timestamped proof of proper removal can help serve as evidence against potential disputes.
Final Tip
By adhering to this checklist-driven method, renters can safely install and uninstall smart tech without risking their security deposit or violating lease terms.